
You have no items in your shopping cart.

To prevent mold on a shower door seal, remove soap residue, wipe trapped water from the seal after showering, and ventilate the bathroom until surfaces dry. Clean existing growth with a method approved for the seal material, then rinse and dry it thoroughly. Replace damaged seals and correct persistent water traps; stronger cleaners do not fix those problems.
A frameless door still has places that hold moisture: the bottom sweep, vertical seal edges, and joints beside the glass. Cleaning the large glass panel while leaving those areas wet misses the places that need attention.
For your 2026 maintenance routine, separate surface cleaning from a fit or drainage problem. Showerdoor manufactures and installs custom framed and frameless shower enclosures; a recurring wet pocket deserves an enclosure inspection, not repeated chemical treatment.
Remove the residue, remove the water, and give the seal a chance to dry. Use this sequence without loosening door hardware or disturbing fixed waterproofing joints.
Do not pull an unfamiliar seal off the glass just to improve access. Some seals slide or press into place; others use adhesive. Confirm the attachment method before attempting removal.
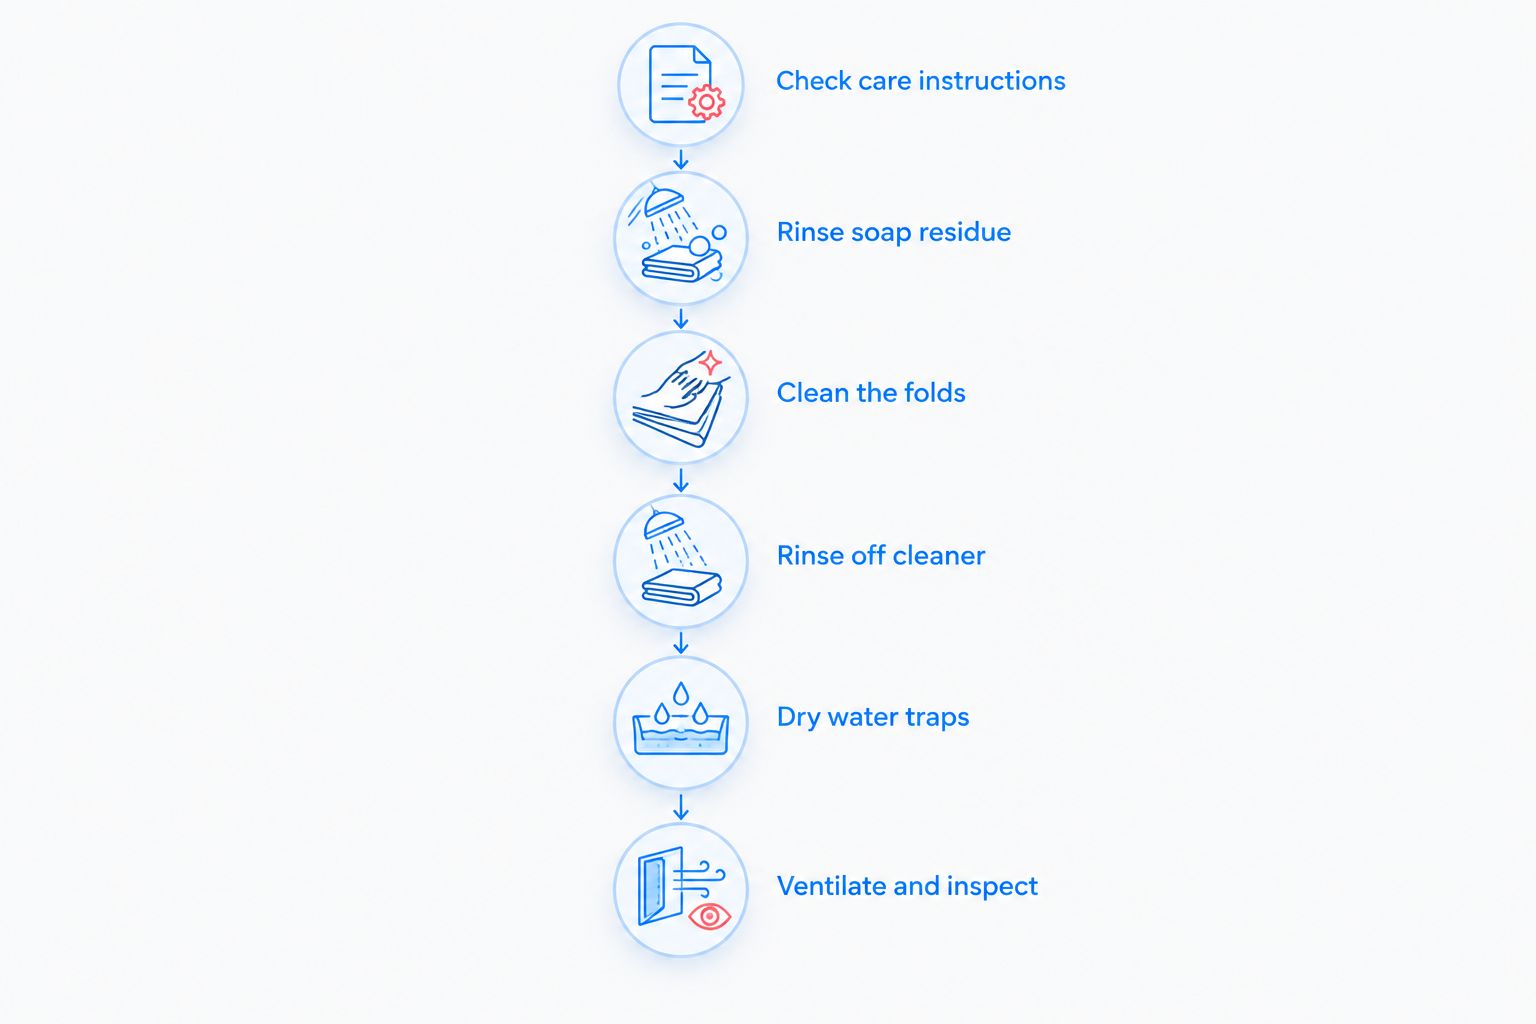
The word seal can mean a removable plastic strip or a fixed bead of silicone. Treating both the same way risks damaging an otherwise serviceable enclosure.
Use this comparison before choosing your 2026 cleaning method. The location helps identify the part, but the original installation instructions determine how it attaches.
| Seal or joint | Best for | Practical advantage | Limitation and care caution |
|---|---|---|---|
| Bottom door sweep | Controlling water at the moving door's lower edge | A replaceable component when its design allows removal | Folds and channels need attention; pulling without checking the attachment risks damage |
| Vertical door seal | Closing the intended gap beside a door edge | Helps manage splash at the door opening | The wrong profile or position interferes with closure |
| Fixed silicone joint | Sealing designated stationary joints | Forms a continuous joint when correctly installed | Do not peel it back for routine cleaning or caulk over contaminated material |
A removable sweep is not a repair for failed silicone. Likewise, adding silicone around a moving sweep is not a substitute for selecting and fitting the correct replacement part.
Match the maintenance method to the component, not just to the visible stain. If you cannot identify the part, photograph its position and profile before asking the installer for guidance.
Recurring growth means you need to address the conditions around the seal as well as the visible surface. Inspect these factors before changing cleaning products:
Check the same locations after cleaning and again after the next shower. That comparison helps distinguish residue you missed from water that collects because of the enclosure's condition.
For a small, accessible area on a washable surface, follow the seal manufacturer's cleaning instructions and remove the visible contamination. EPA household mold guidance emphasizes cleaning hard surfaces with detergent and water, drying them completely, and correcting the moisture problem.
Wear gloves and ventilate the bathroom. Keep splashes away from your eyes, and follow every cleaner's label, including its surface restrictions and any required rinsing.
Never mix cleaning products. In particular, do not combine bleach with vinegar, other acids, or ammonia-containing products. Do not layer a second cleaner over residue from the first.
If ordinary approved cleaning leaves a dark mark, stop treating the mark as proof that more chemical exposure is needed. Color alone cannot tell you whether material remains contaminated or permanently stained. Assess whether the surface is clean, intact, and drying properly; replace the component if it cannot be adequately cleaned.
For your 2026 cleaning supplies, choose compatibility over strength. Skip abrasive pads, blades, and unapproved solvents on flexible seals, coated glass, and finished hardware.
If the strip is explicitly designed for homeowner removal, follow its removal and refitting instructions. Clean and dry the accessible glass and strip before reinstalling it, and check that it seats correctly afterward.
If the seal is adhesive-mounted, brittle, or difficult to detach, leave it in place until you have replacement or service instructions. Do not loosen hinges, lift the glass, or pry against an exposed glass edge to reach a dirty channel.
Growth behind fixed silicone, recurring dampness outside the enclosure, or a persistent musty odor calls for investigation of the moisture source. Surface wiping cannot establish what is happening inside a concealed joint.
Replace a seal that is split, distorted, no longer seats correctly, or cannot be cleaned adequately. Discoloration alone does not establish that the enclosure needs replacement, but a damaged strip should not remain in service simply because you can wipe its surface.
Check the existing part before ordering. You need the glass thickness, attachment method, profile, and intended location—not just a similar-looking clear strip.
The Frameless Door Sweep is a polycarbonate bottom seal with versions for 1/4-inch, 3/8-inch, and 1/2-inch glass. It is best for replacing a compatible bottom sweep; it is not a universal repair for vertical seals, silicone joints, or incorrectly aligned doors.
Confirm the profile and fit as well as the glass thickness. A replacement that grips the glass but drags, folds, or prevents normal closure has not solved the problem.
After replacement, check the door through its normal movement and observe where water goes during use. If water still pools against the seal, investigate the enclosure rather than repeatedly replacing the strip.
For an installation issue beyond routine seal care, Showerdoor is best suited to homeowners seeking custom shower-enclosure manufacture and installation in California, Arizona, and Nevada. Describe the location of the retained water and whether the problem occurs with the door open, closed, or during showering.
Build your 2026 routine around what the enclosure needs, not an arbitrary chemical-treatment schedule. Drying belongs after showering; closer cleaning belongs whenever residue begins to build.
Rinse visible soap from the seal, squeegee the glass, and wipe accessible water from the sweep and curb. Keep the exhaust fan running while the bathroom remains damp.
If leaving the shower door ajar improves airflow, do so only where the door remains stable and does not block safe movement. Do not prop it against a hard object or force it beyond its intended travel.
Inspect the bottom corners, seal ends, and flexible lips. Clean the seal with an approved method, rinse it, and dry it rather than treating only the glass panel.
Check your cloth as you work. A cloth already loaded with soap residue spreads that residue instead of removing it; switch to a clean section or a fresh cloth.
Look for a repeated pattern. A wet spot at the same location points you toward an area to inspect, while a generally damp bathroom calls for attention to ventilation.
Keep your 2026 maintenance notes simple: photograph the affected location after cleaning and after use. Record whether it dries fully, whether the strip is damaged, and whether water escapes outside the enclosure.
Yes—moisture control and appropriate surface cleaning are the foundation of prevention. Routine bleach application does not remove a water trap, improve ventilation, or correct a damaged sweep.
Use a cleaning method approved for the seal and surrounding finishes. If a disinfectant is required for a particular situation, follow its label and the component manufacturer's restrictions rather than substituting a homemade mixture.
No—glass treatment does not replace cleaning and drying the shower door seal. A product intended for glass has a different purpose from maintaining a flexible strip or repairing a fixed joint.
Do not apply a glass cleaner, coating, or water-repellent treatment to the seal unless its instructions explicitly permit that use. Keep the care instructions for the glass and the seal separate.
What's the best way to prevent mold on a shower door seal?
Remove soap residue, dry the accessible seal after showering, and ventilate the bathroom until surfaces dry. Inspect recurring wet spots for damaged material or an incorrect fit.
Can I use vinegar on a clear shower door seal?
Use vinegar only if the seal and surrounding surface manufacturers permit it. Keep acids away from incompatible finishes and stone, and never mix vinegar with bleach.
Should I remove the bottom seal every time I clean?
No—remove the bottom seal only when its attachment and care instructions allow it. Adhesive-mounted, brittle, or unfamiliar seals need a different approach from a removable press-on sweep.
Does a black mark mean I need a new shower enclosure?
No—a black mark alone does not establish that the enclosure needs replacement. Check whether the seal can be cleaned, remains intact, and dries properly before deciding on a repair.
Will a new shower door sweep stop mold permanently?
No—a new sweep does not guarantee mold prevention. Correct fit, residue removal, drying, and ventilation remain necessary after replacement.
Can I caulk over a moldy shower seal?
No—do not cover contaminated material with new caulk. Identify whether you are dealing with a moving door seal or a fixed silicone joint, then address the contamination and moisture source.
Can Showerdoor help with more than replacement seals?
Showerdoor manufactures and installs custom framed and frameless glass shower enclosures for homeowners in California, Arizona, and Nevada. Describe the enclosure problem when asking about the appropriate service.
Inspect the seal after the rest of the shower has dried. During showering, everything is wet; afterward, a stubborn wet pocket is easier to identify.
Make that observation part of your 2026 maintenance routine before buying another cleaner. The most useful next step is often finding where water stays—not choosing a stronger product to apply there.


