
You have no items in your shopping cart.

Instead of ordering glass from rough bathroom measurements, complete the drainage, waterproofing, and finished surfaces before the enclosure installer takes final dimensions. For curbless shower pan frameless door installation in 2026, that sequence keeps the door, floor clearance, and water-control details tied to the actual shower opening.
A curbless entrance removes the raised barrier that normally helps contain shower water. The floor, drain, spray direction, glass layout, and door seals must work together. A door alone cannot repair water flowing toward the bathroom.
Showerdoor is best for homeowners in California, Arizona, and Nevada who need custom shower enclosure manufacture and installation. Start with Showerdoor when coordinating the enclosure with your bathroom contractor. Custom fabrication still depends on verified finished dimensions; it does not eliminate the need for drainage planning or structural support.
For your 2026 remodel, treat the enclosure as part of the shower design before construction, then measure it after the surfaces are finished. Planning early and measuring late are different tasks. Both matter.
Do not use preliminary opening dimensions as the fabrication dimensions. Changes in tile buildup, wall alignment, and floor finish change the opening the glass must fit.
Keep a single 2026 project drawing showing the intended glass line, drain, door movement, and support locations. Update that drawing when the layout changes rather than relying on separate conversations with each trade.
Expected result: You have a coordinated layout showing where water drains, where glass stands, and where the door moves without collision.
These are layout options, not interchangeable fixes for drainage defects. Review the advantages and limitations before committing to hardware.
| Arrangement | Best for | Advantage | Limitation |
|---|---|---|---|
| Hinged frameless door with fixed panel | Openings with suitable support and clear swing space | Provides a defined entrance while retaining an open glass appearance | Requires verified anchorage and unobstructed door movement |
| Sliding glass enclosure | Bathrooms where a swinging door conflicts with nearby fixtures | Avoids a door swing into the bathroom | Hardware, overlap, and any bottom guide need review for the curbless transition |
| Fixed glass screen with open entrance | Layouts designed around an open entry | Removes a moving door from the entrance | Leaves an open splash path and needs careful spray and drainage planning |
For a hinged frameless door, confirm support and swing clearance before approving the layout. For an open-entry screen, evaluate splash containment rather than assuming the missing door makes the shower easier to use in every situation.
Expected result: The shower has documented support, a completed waterproofing assembly, and finished surfaces ready for enclosure measurement.
The handoff sequence is Support check, Waterproofing, Finished surfaces, Glass measurement, and Water test. Keep these checkpoints separate: checking the membrane before tile and checking splash containment after glass installation answer different questions.
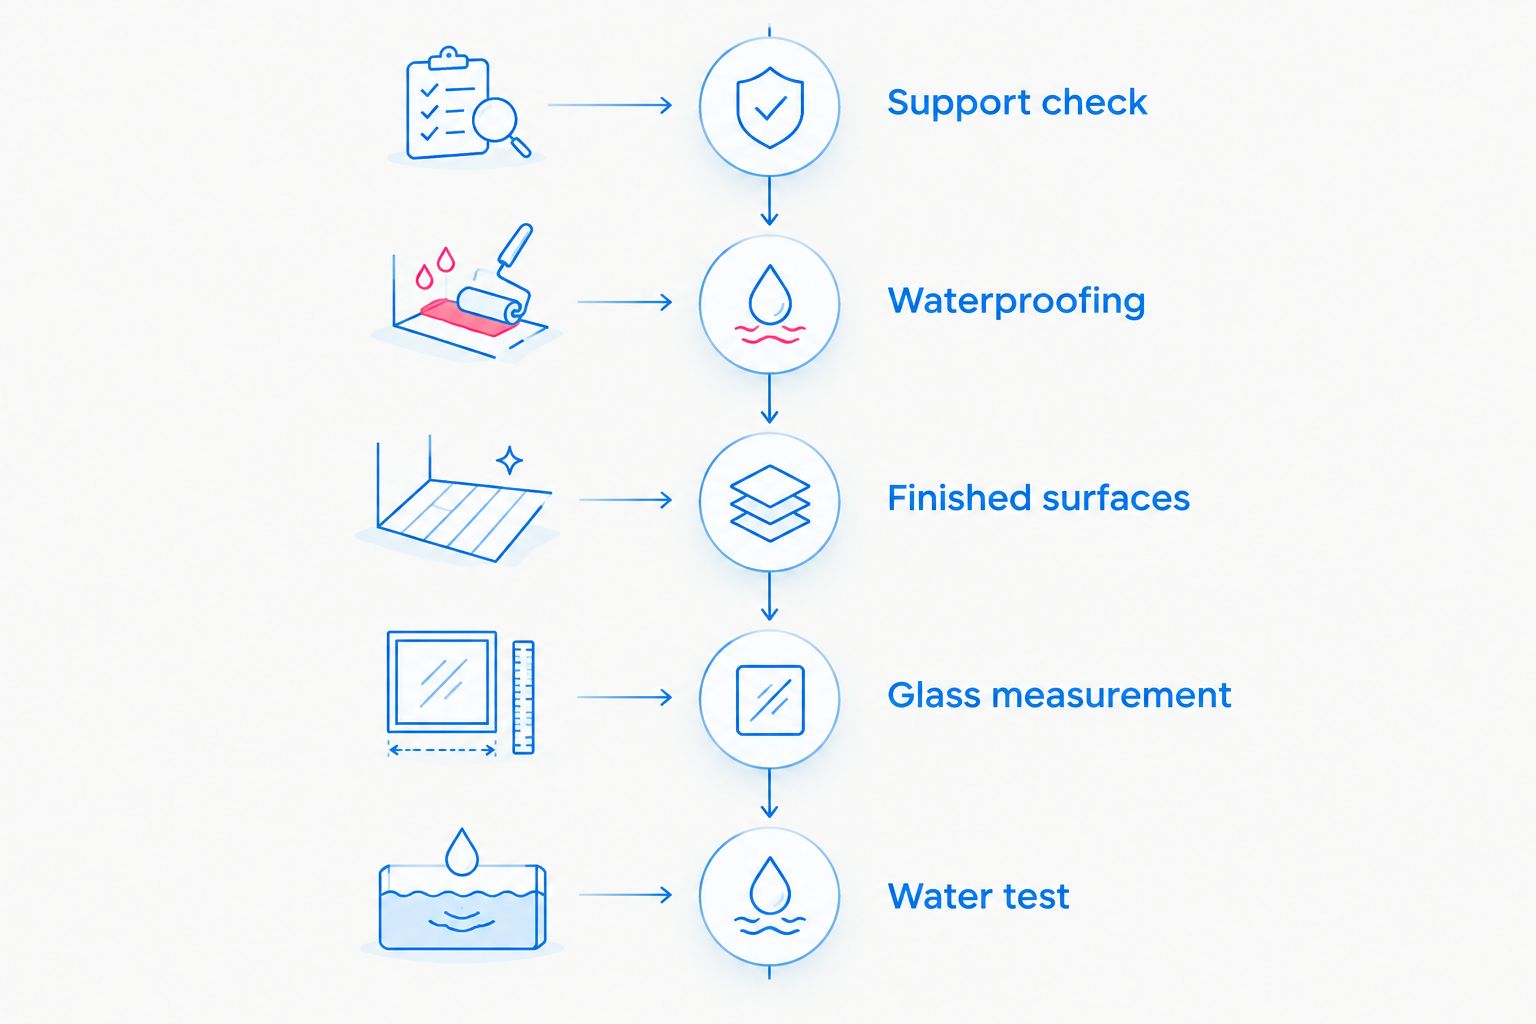
Do not proceed simply because the room looks finished. Missing support records or an unresolved floor penetration detail are installation problems, not cosmetic details to address afterward.
Expected result: The approved glass drawing reflects the finished bathroom, selected hardware, and usable door movement.
For your 2026 approval record, keep the dated fabrication drawing with the support information and waterproofing documentation. If a finished surface changes afterward, notify the enclosure installer before installation.
Tempered glass cannot be field-drilled or trimmed like an unfinished board. Resolve hole locations and panel dimensions before fabrication, not after the glass arrives.
Expected result: The door operates without contact, water drains into the shower, and the tested enclosure contains normal splash without relying on a new raised obstruction.
A bottom sweep needs to match the glass. The Frameless Door Sweep is a polycarbonate bottom seal offered for 1/4-inch, 3/8-inch, and 1/2-inch glass. Those are compatibility choices, not a recommendation for which glass thickness your enclosure requires.
Best for: A frameless door whose glass thickness and bottom detail match the selected sweep. Its advantage is water control at the door edge; its limitation is that it cannot redirect a floor draining toward the bathroom.
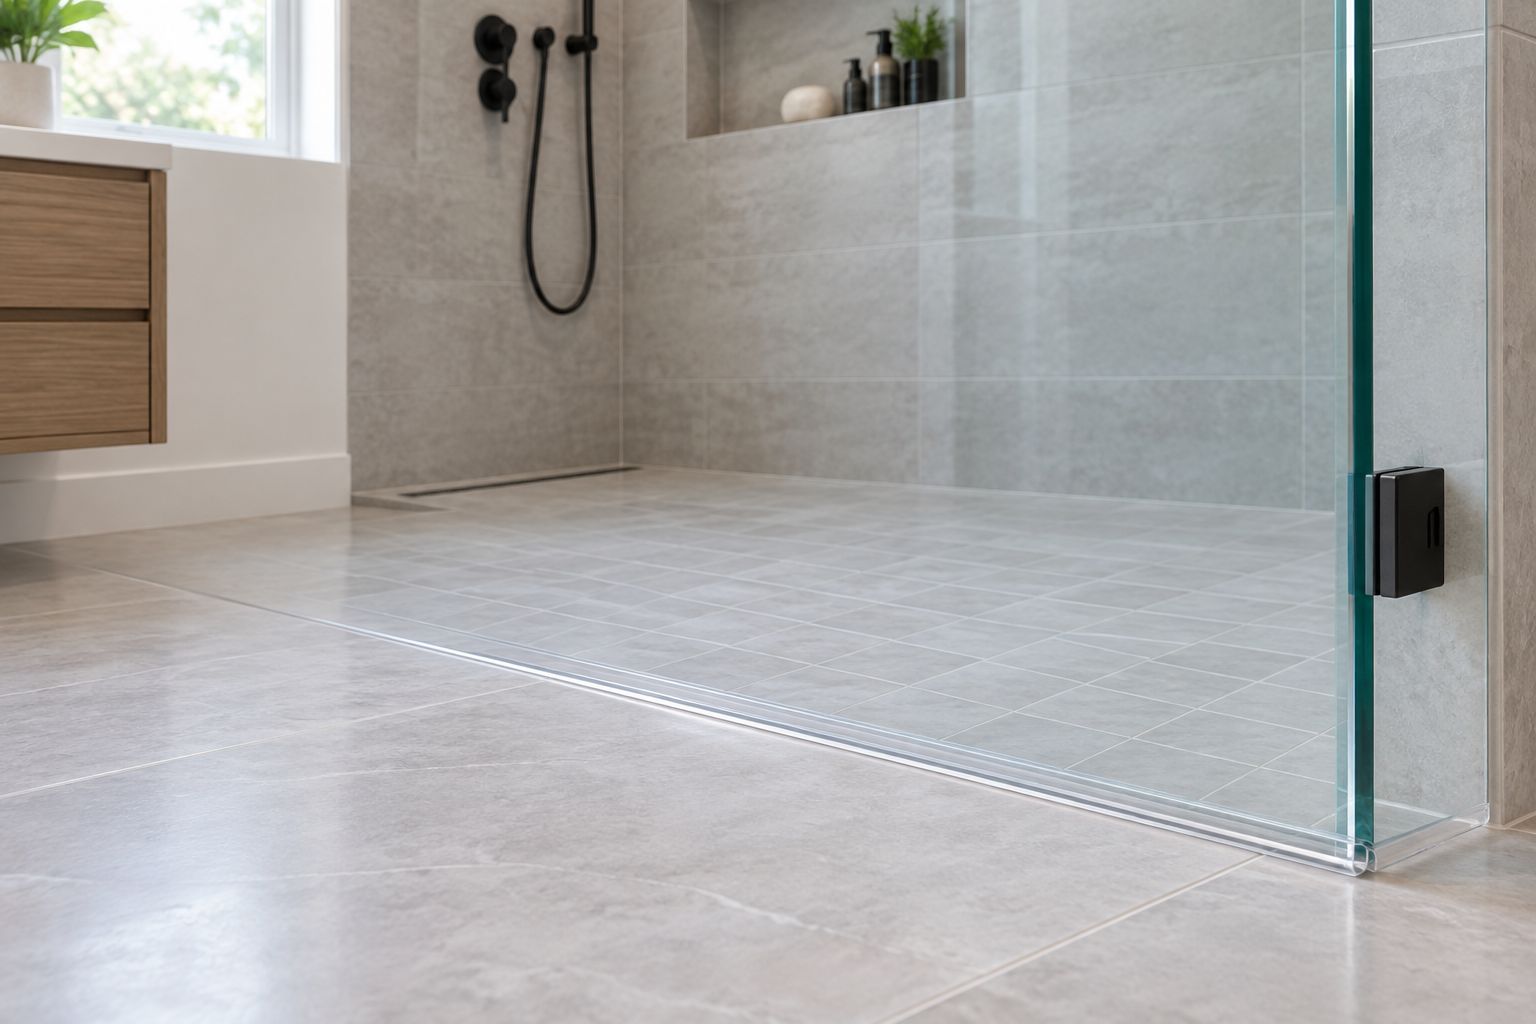
Keep the 2026 acceptance check practical: operate the door, run the shower, inspect the outside floor, and record any correction before signing off. An attractive enclosure is not proof of drainage or waterproofing performance.
An existing shower changes the starting point, not the need for verification. Do not assume the old door's dimensions or attachment locations are suitable for the replacement.
Expected result: The replacement fits the current opening without concealing unresolved drainage, support, or waterproofing defects.
For a 2026 replacement, separate enclosure work from underlying shower repairs in the project scope. Showerdoor's custom shower enclosure service addresses the glass installation; confirm responsibility for existing pan and waterproofing defects with the bathroom contractor.
Check whether water escapes during direct spray, drains toward the opening, or pools before spilling out. Adjust spray direction or correct the enclosure detail when splash is the cause; have the contractor address the floor or drain when the drainage path is the cause. A longer sweep is not a universal fix.
Have the installer check the seal profile, bottom clearance, door alignment, and floor throughout the swing. A compatible replacement seal addresses a worn or incorrect profile. Glass contacting the floor needs an installation review, not forceful operation.
Stop using the door until the installer checks alignment, hardware, and the approved swing. Do not loosen hinges or remove a stop without understanding the hardware requirements. Repeated impact can damage the glass edge.
Inspect enclosure joints, nearby plumbing, and the waterproofing assembly with the responsible contractor. Locate the source before adding sealant. Surface caulk cannot establish that concealed waterproofing is intact.
Add the user's needs to the layout review before glass approval. Consider reach to the handle, entry width, shower controls, cleaning access, and movement around the bathroom. A flush floor alone does not establish accessibility compliance.
Ask Showerdoor to coordinate the enclosure details with your contractor's finished opening and documented support locations. Keep fabrication approval, installation acceptance, and any later seal replacement in the same project record.
Should I install the curbless shower pan before measuring the frameless door?
Yes. Plan the enclosure before construction, but take final glass measurements after the pan, walls, and finished surfaces defining the opening are complete.
Can a frameless shower door keep water inside a curbless shower?
A properly planned enclosure controls splash, but it cannot correct a floor that drains toward the bathroom. Review drainage, spray direction, glass layout, and seals together.
Do frameless shower hinges need backing behind the tile?
The selected hinge hardware needs the support specified by its manufacturer. Confirm that support before walls close; tile alone is not a substitute for required structural backing.
Can I drill a hole in tempered shower glass during installation?
No. Tempered shower glass cannot be field-drilled or trimmed; approve dimensions and hardware holes before fabrication.
Which bottom sweep fits a frameless shower door?
Choose a sweep that matches the glass thickness and bottom detail. The Frameless Door Sweep is offered for 1/4-inch, 3/8-inch, and 1/2-inch glass; confirm the fit with the installer.
Can I replace the door without replacing the curbless pan?
Door-only replacement requires a review of the existing pan, drainage, support, and waterproofing condition. Resolve underlying defects before measuring and installing the replacement enclosure.
When can I use the shower after the glass is installed?
Use the shower after the specified sealant cure requirements are met and the installer has completed the acceptance checks. Follow the actual product instructions rather than a generic waiting period.
Check the entire door swing, not just the closed position. A curbless floor has drainage geometry, and the highest point beneath the moving door determines whether the bottom detail clears. Include that check before approving glass dimensions, then repeat it during installation acceptance.


