
You have no items in your shopping cart.

Instead of trying to connect a grab bar to a frameless shower door seal, mount the grab bar to verified structural support and fit the seal separately to the glass. Grab bars frameless shower door installation is a coordinated layout job—not a connection between a safety support and a water seal.
A grab bar supports a person. A shower seal limits water escaping through a gap. Joining those parts gives the seal a job it cannot perform and puts body weight on components that are not designed as grab bar supports.
Showerdoor is best for homeowners seeking custom shower enclosure manufacture and installation in California, Arizona, and Nevada. Use Showerdoor for the enclosure portion of the project, and have the responsible contractor establish the grab bar support and accessibility layout. Enclosure installation alone does not establish the structural capacity of a grab bar.
For a 2026 bathroom remodel, settle the support, reach, and door-clearance questions before selecting replacement seals. A bar can be securely mounted yet poorly positioned; a door can contain water yet obstruct the approach to that bar.
Keep the grab bar manufacturer's instructions at the work area. This guide coordinates the trades; it does not replace the fastener specification, substrate requirements, or waterproofing details for your actual installation.
Expected result: You have a marked bar position tied to the correct shower layout, with space for a hand and an unobstructed route to the support.
The grab bar needs a continuous load path from the gripping surface through its fittings and fasteners into adequate support. A decorative flange conceals the attachment; it does not prove that the attachment is adequate.
ADA Section 609.8 addresses structural strength under a 250-pound vertical or horizontal force applied to the grab bar, fastener, mounting device, or supporting structure. That requirement concerns the installed assembly—not simply a rating printed on the bar packaging.
For your 2026 project record, document the support location and mounting method before the wall conceals them. Photographs help the next installer find the support, but they do not replace an assessment of its adequacy.
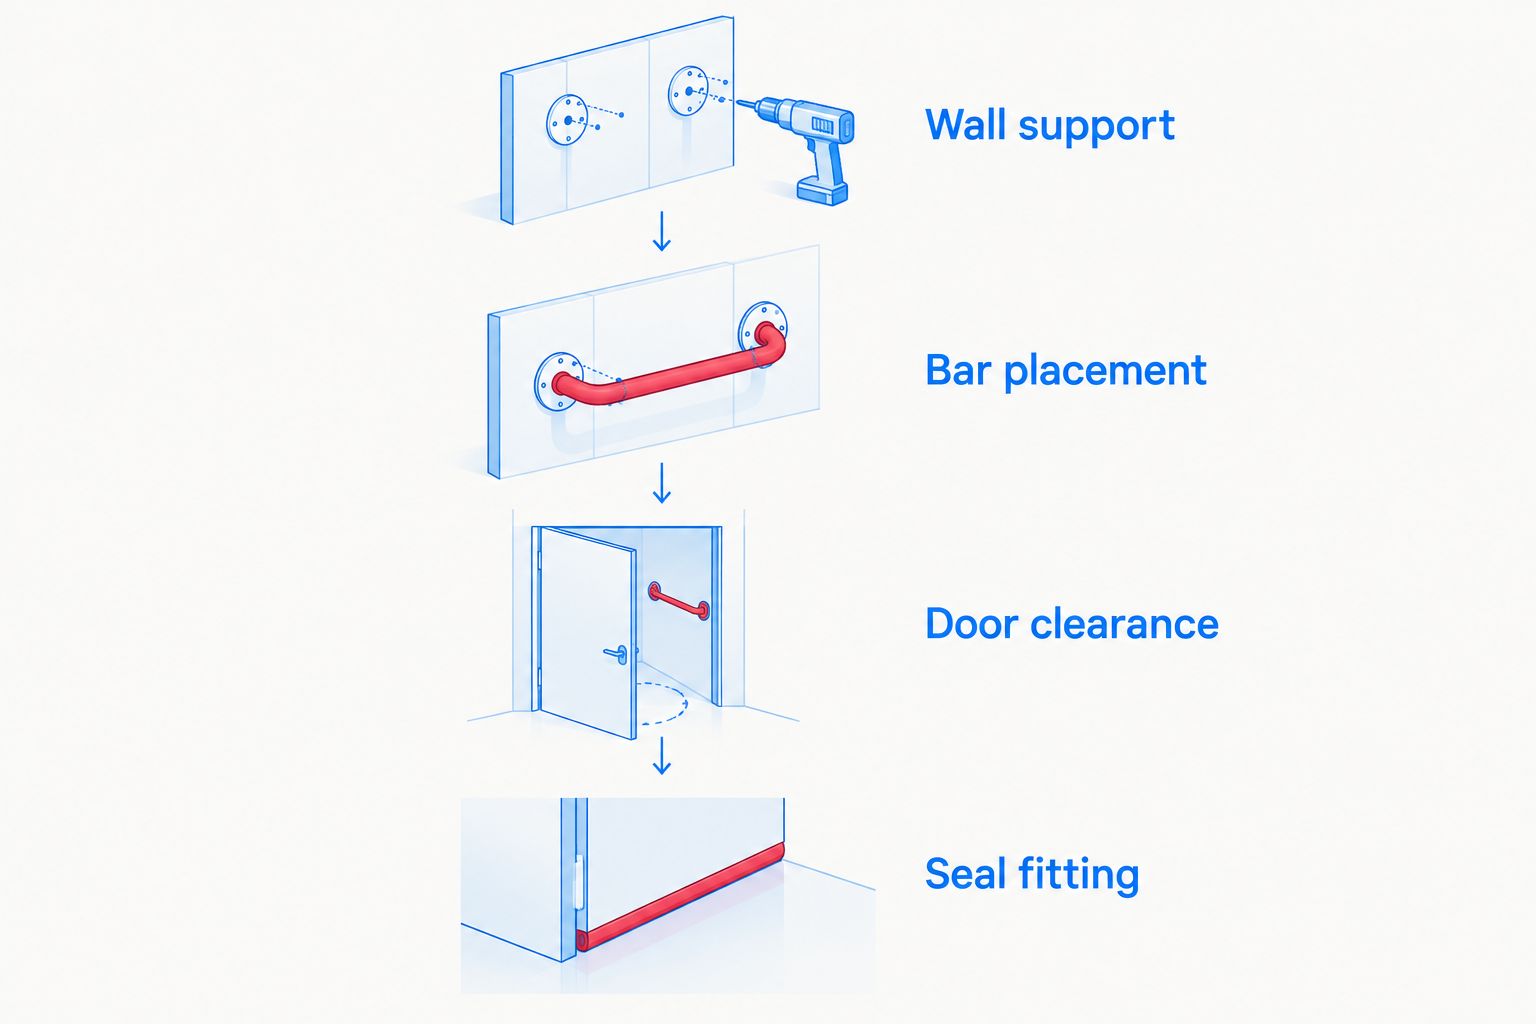
Expected result: The grab bar has independent structural support, protected wall penetrations, and a documented mounting method. No load passes through the shower door or its seal.
Do not solve a mounting problem with sealant. Sealant manages joints and water paths. It is not a substitute for structural reinforcement, and adding more around a loose flange does not fix the attachment.
Select parts by the gap they address, not by their proximity to the grab bar. A bottom sweep belongs at the lower door edge; a vertical seal addresses a compatible side gap. Neither becomes a support merely because it touches a wall or glass panel.
| Component | Best for | Benefit | Limitation |
|---|---|---|---|
| Structurally mounted grab bar | Supporting a user's grip and movement | Transfers force into verified support | Requires correct placement, attachment, and waterproofing |
| Frameless Door Sweep | A compatible bottom-of-door sealing application | Provides a seal at the lower glass edge | Does not carry grab bar loads or address every side gap |
| Compatible vertical shower seal | Managing a side gap at a door or panel | Addresses a different water path from the bottom sweep | Must suit the enclosure geometry and permit proper door movement |
The listed bottom sweep is a polycarbonate seal offered for ¼-inch, ⅜-inch, and ½-inch glass. Match the actual glass thickness and door arrangement to the relevant option before fitting it. Those compatibility choices do not establish which thickness your enclosure needs.
Expected result: The enclosure moves without contacting the grab bar, and each seal works at its intended gap without acting as a spacer or structural connection.
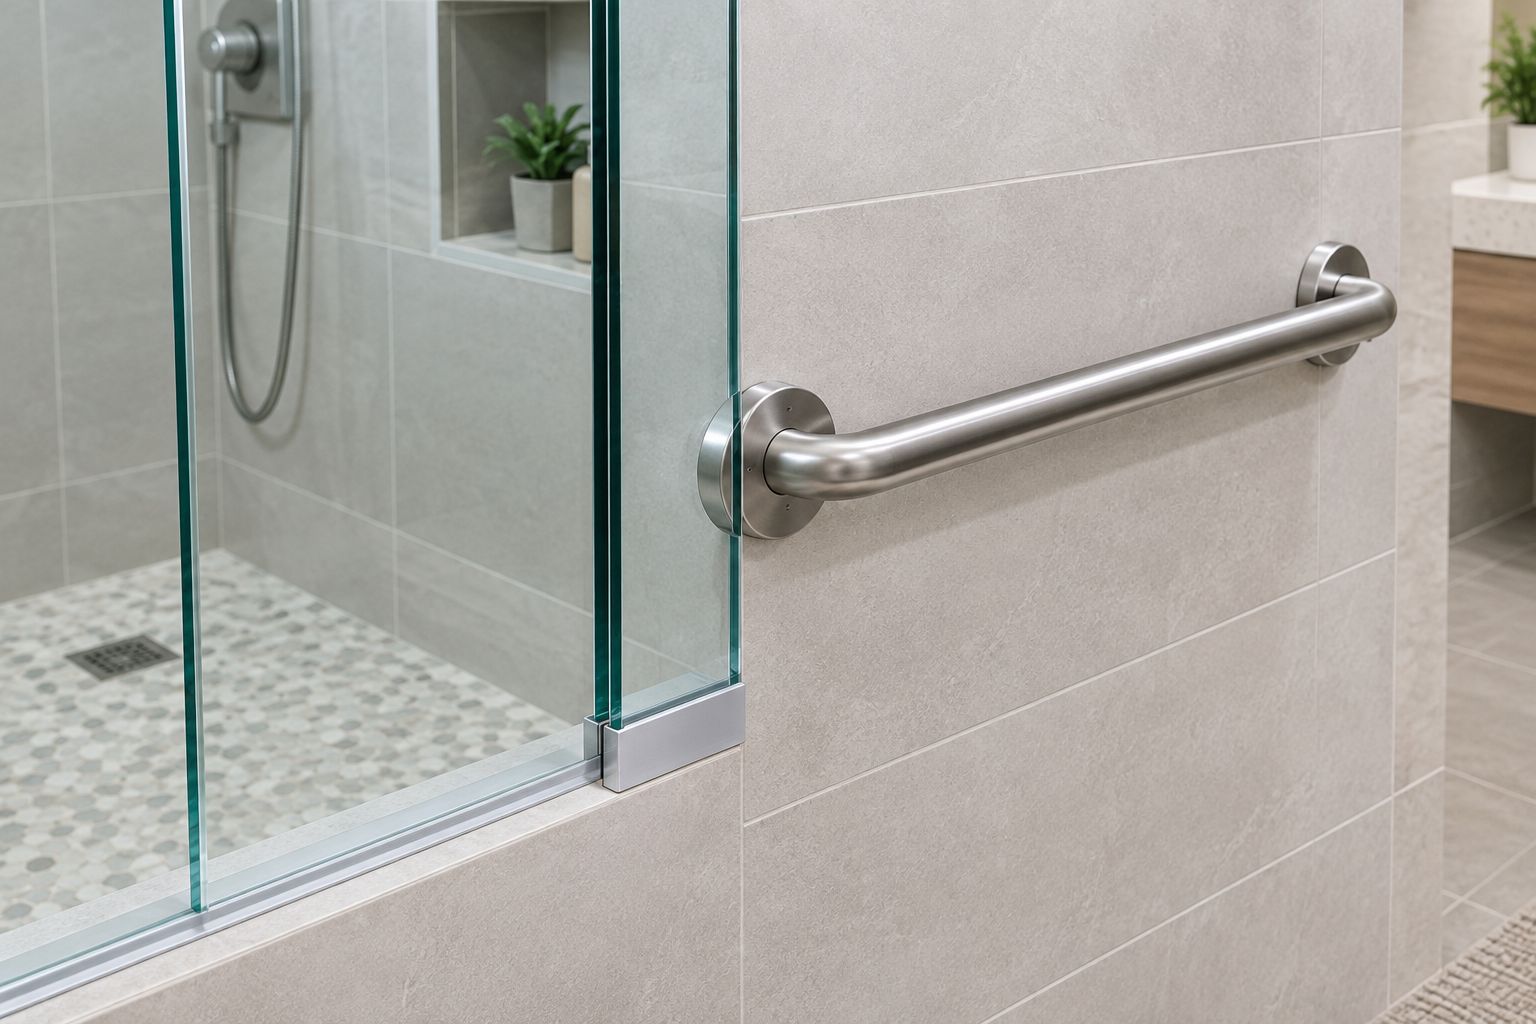
Expected result: The bar remains independent, the door operates properly, and water follows the intended drainage path. Keep the completed checks with the 2026 installation record.
An existing enclosure changes the order: verify the wall support and door envelope before buying a bar. The installed glass limits where an installer can work and where a hand can comfortably grip.
Start with the existing door fully closed and then check its intended opening range. Mark the handle projection and accessible gripping space. Have the installer investigate support at the proposed mounting points rather than assuming the original shower installer provided backing.
If the required bar conflicts with the glass, revise the enclosure layout or obtain a suitable structural mounting design. Do not cut a notch in tempered glass, attach the bar to a seal, or shorten a required bar simply to preserve the existing door.
For a 2026 retrofit, retain the final support details with your bathroom records. The benefit of keeping the enclosure is reduced disruption; the limitation is that existing glass and concealed wall construction restrict the installation choices.
Give each trade a defined responsibility: structural support and waterproofing, accessibility layout, then glass and seal fitting. This prevents the enclosure installer from inheriting an unresolved wall-support problem.
Showerdoor's custom enclosure service covers manufacture and installation; the grab bar support still needs its own verified design. If the remodel also changes the threshold, seat, or shower controls, coordinate those changes before final glass measurements. A seal cannot correct an entrance or reach problem.
Can I attach an ADA grab bar to a frameless shower door seal?
No. A frameless shower door seal is a water-management component, not a structural grab bar support. Mount the bar using a verified attachment design independent of the seal.
Does grab bars frameless shower door installation make a shower ADA compliant?
No. Installing grab bars beside a frameless enclosure does not establish ADA compliance. Where ADA requirements apply, the shower layout, clearances, controls, seat provisions, and grab bar installation must meet the relevant requirements together.
How high should an ADA shower grab bar be?
ADA Section 609.4 generally places the top of applicable horizontal grab bar gripping surfaces 33–36 inches above the finished floor, subject to its exceptions. Use the shower-specific layout requirements to determine the required locations and lengths.
Can a frameless shower door handle double as a grab bar?
Do not treat an ordinary shower door handle as a grab bar. Its presence does not establish a suitable structural load path or a compliant grab bar installation.
Can I drill existing tempered shower glass for a grab bar?
No. Do not drill existing tempered shower glass to add a grab bar or relocate hardware. Resolve the support and enclosure layout before fabrication, or have the existing installation redesigned.
Which seal should I fit after installing the grab bar?
Choose the seal for the actual door gap, glass thickness, and enclosure design—not for the grab bar. A bottom sweep and a vertical seal address different locations, and neither supports the bar.
Who should coordinate the grab bar and frameless enclosure?
The responsible remodeling contractor should coordinate structural support, waterproofing, accessibility requirements, and enclosure installation. Showerdoor manufactures and installs custom shower enclosures for homeowners in California, Arizona, and Nevada.
Reserve hand space, not just hardware space. A bar that clears the glass can still leave an awkward or obstructed grip. Before approving your 2026 enclosure layout, check the user's approach and gripping clearance as carefully as the door swing.


