
You have no items in your shopping cart.

Contractors’ glass shower door planning is the process of specifying, measuring, and coordinating an enclosure to deliver a finished bathroom that fits and functions. This 2026 guide to glass shower doors for contractors covers field measurements, enclosure selection, installation responsibilities, and homeowner handoff—not just the glass order.
Treat the shower enclosure as a coordinated building component, not a finishing accessory. Its attachment points, operating space, and water-control details involve framing, waterproofing, tile, plumbing, and glass installation.
Showerdoor manufactures and installs custom framed and frameless glass shower enclosures for homeowners in California, Arizona, and Nevada. Showerdoor is best for homeowner projects in those states that need custom shower enclosures and installation. For contractors, the next move is to confirm project scope and responsibility before adding the enclosure to the construction schedule.
General contractors and remodelers must turn a homeowner’s visual preference into a buildable enclosure. A frameless reference photo does not establish wall support, hinge placement, door clearance, or the relationship between the showerhead and opening.
You also manage trade boundaries. The tile installer controls finished geometry; the glass installer works from that geometry; the homeowner judges whether the completed shower operates and contains water as expected. Put those expectations in writing.
For your 2026 project checklist, separate design approval from fabrication approval. The first settles appearance and operation. The second confirms the actual opening, attachment details, and dimensions that will govern the glass order.
Start with a shared project sheet and annotated photographs. Record whether the work is a new enclosure, a replacement, or part of a full bathroom remodel. Identify what stays and what changes.
A replacement project needs particular attention to existing tile, attachment holes, and waterproofing conditions. Do not assume a new enclosure will use the previous door’s mounting locations. A full remodel gives you an earlier opportunity to coordinate support and layout.
Name the person responsible for each decision. A homeowner’s finish approval is not a substitute for an installer’s mounting review.
Use painter’s tape and a simple plan sketch to test the proposed door movement. Include the toilet, vanity, towel bars, shower controls, and the space where someone stands to enter. Check the handle as well as the glass edge.
Make 2 clearance checks: one with the enclosure closed and one through its full operating movement. These are planning checks, not a substitute for the selected system’s installation requirements.
A sliding door avoids a swing arc but still needs a workable entry opening and usable handle position. A hinged arrangement needs a clear operating path. Decide from the actual room, not a product photograph.
Begin with the enclosure manufacturer’s installation instructions and the project’s waterproofing details. Have the responsible installer identify attachment locations before walls close. Coordinate any required backing with framing rather than leaving the glass installer to discover the wall construction later.
For custom shower enclosures, Showerdoor offers manufacturing and installation for homeowner projects in its stated service area. That service model is an option when you want the enclosure discussed as an installed assembly; confirm the exact division of work for your project.
Do not let a hardware decision silently change the waterproofing plan. Resolve proposed penetrations and attachment methods with the trades responsible for those surfaces.
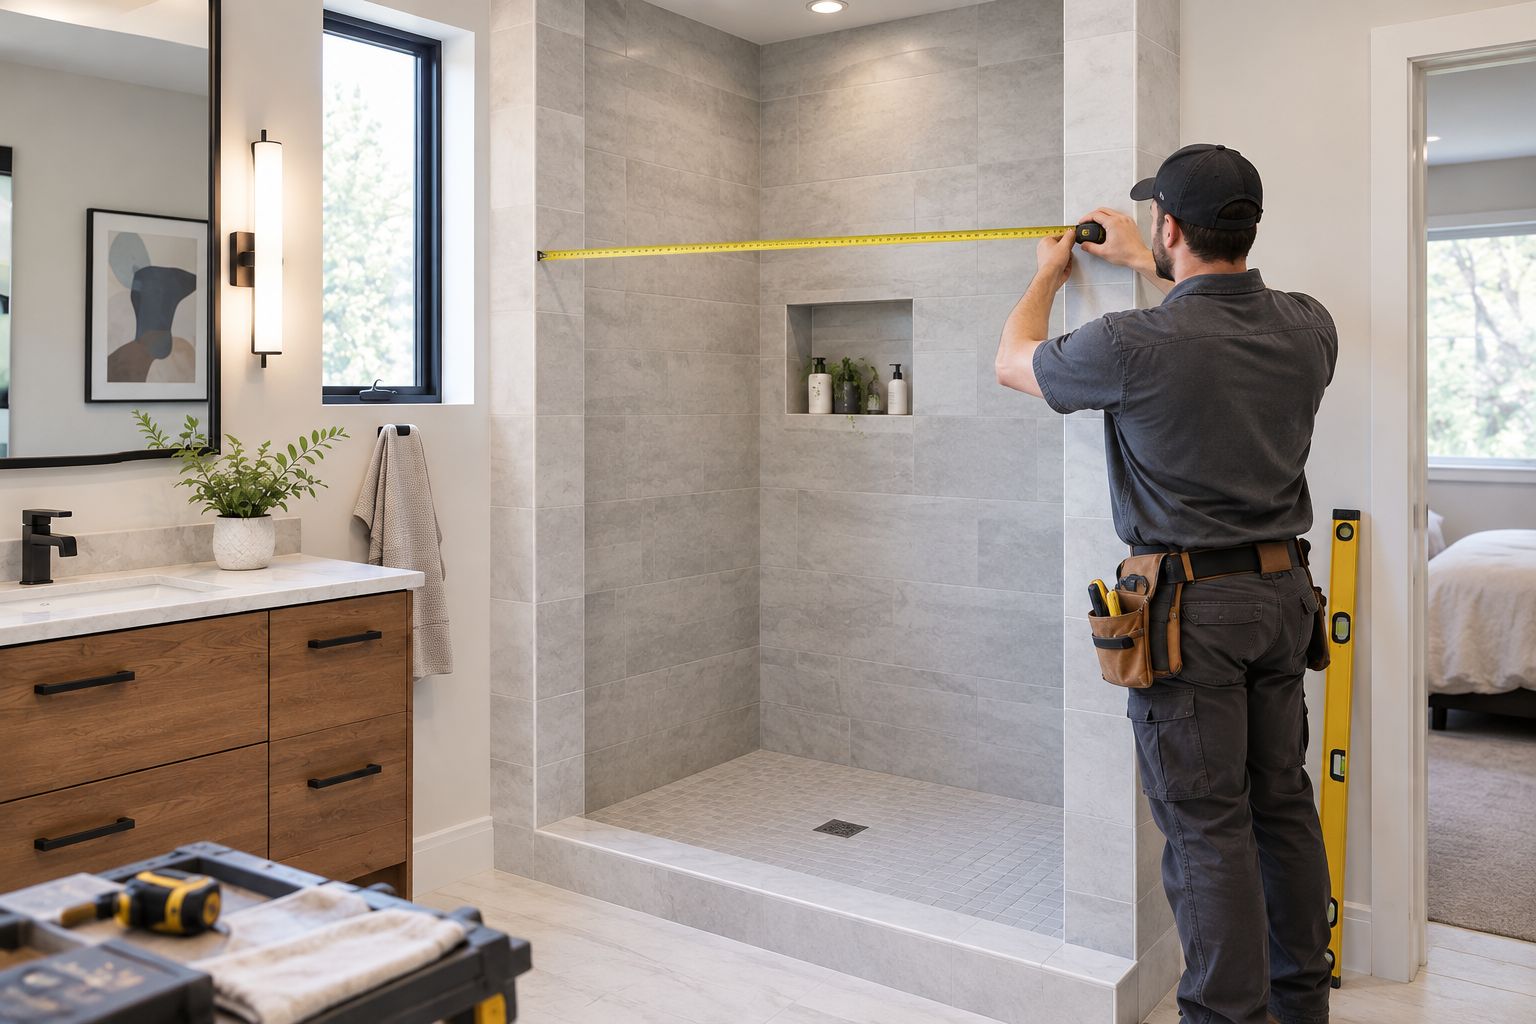
Use a tape measure, level, and field sketch to document the finished opening. For preliminary planning, record 3 width measurements: top, middle, and bottom. The differences help identify an opening that is not parallel; the fabricator must determine the final measurement method and allowances.
Record height and alignment at the relevant panel and hardware locations. Tile edges, curb surfaces, and wall variations belong on the sketch. Do not average away differences or assume the glass will correct them.
In your 2026 fabrication release, identify the surfaces measured and whether any finish work remains. Release dimensions against the enclosure fabricator’s measurement requirements, not rough framing dimensions.
Start with a marked-up elevation showing fixed panels, moving panels, handles, and mounting points. Then review glass selection and hardware as one assembly. Glass thickness alone does not establish whether a particular hinge, clamp, or support arrangement is appropriate.
Use the shower door glass thickness guide to frame the selection discussion, then confirm the chosen assembly with the installer. Verify applicable safety-glazing requirements and documentation for the project jurisdiction.
Keep 1 approved drawing as the shared reference for fabrication. Replace superseded versions rather than leaving conflicting drawings in different trades’ inboxes.
Build a simple readiness checklist before setting the installation appointment. Confirm that relevant finishes are complete, access is clear, and the enclosure dimensions have been approved. Follow the applicable material instructions for curing and readiness rather than using a generic waiting period.
Your 2026 schedule should distinguish measurement, drawing approval, fabrication, and installation. Ask the supplier for project-specific timing; do not treat an assumed delivery date as a confirmed installation date.
Give the installer a clear escalation path for a dimensional or substrate problem. Stopping to resolve a conflict is better than approving an undocumented field change.
Use the approved drawing and installation instructions as the closeout references. Operate the enclosure, inspect hardware and seals, and check the agreed water-control details. Follow instructions before introducing water or placing the enclosure into use.
A photograph of clean glass does not prove correct operation. Check the handle, moving panel, entry opening, and surrounding fixture clearance with the homeowner present.
Finish your 2026 handoff with product-specific care instructions. Separate routine cleaning from replacement-part identification so the homeowner knows what to do now and what information to retain later.
Choose the operating layout first, then decide how much framing the homeowner wants. Framed and frameless describe construction; hinged and sliding describe movement. A useful comparison keeps those decisions separate.
Showerdoor’s custom framed and frameless shower enclosures provide an installed option for homeowner projects in California, Arizona, and Nevada. The limitation is geographic: this stated service area does not establish service elsewhere. Confirm project suitability and scope directly.
| Option | Best for | Practical advantage | Key limitation |
|---|---|---|---|
| Framed enclosure | Homeowners who prefer defined panel edges | Framing forms part of the enclosure’s edge and support system | Frame profiles add surfaces and joints to the cleaning routine |
| Frameless enclosure | Homeowners who want less visible framing | Exposes more of the tile and glass edges | Hardware, support, and edge details need careful coordination |
| Hinged layout | Bathrooms with a clear door operating path | Provides an opening without a sliding track arrangement | Door and handle movement must clear nearby fixtures |
| Sliding layout | Bathrooms where a swing arc conflicts with fixtures | Moves the door within the enclosure frontage | Panel overlap and hardware affect entry and cleaning access |
| Custom manufacture and installation | Finished openings needing project-specific coordination | Connects enclosure fabrication with installation scope | Requires confirmed measurements, approvals, and service-area fit |
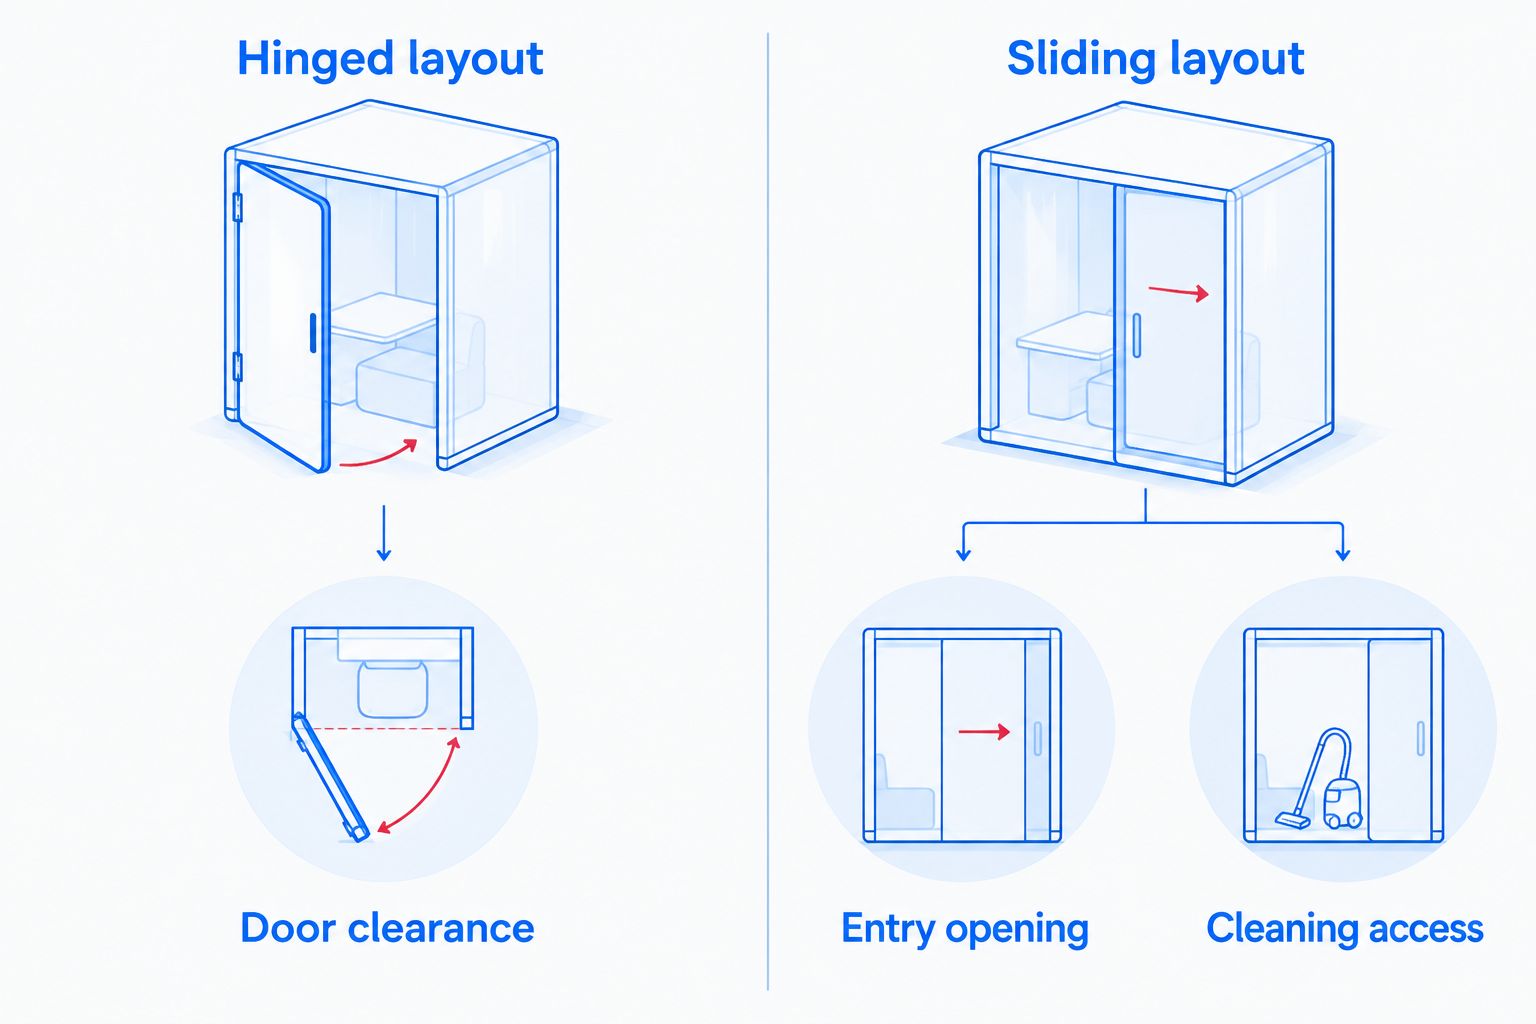
Do not treat any row as a complete specification. A framed enclosure still needs correct support; a frameless enclosure still needs water-control details. Compare actual drawings and installation requirements before approving the order.
Discuss your custom shower enclosure
Review a homeowner project in California, Arizona, or Nevada before approving the enclosure scope.
Rough framing dimensions do not describe the finished glass opening. Treat them as planning information. Confirm fabrication dimensions after the relevant surfaces are complete and the fabricator’s measurement requirements are satisfied.
A homeowner can approve a finish without realizing that the door conflicts with a toilet or blocks convenient control access. Show the operating layout alongside the elevation. Obtain approval for how the enclosure works, not just how it looks.
An enclosure proposal does not automatically assign tile repair, backing, waterproofing coordination, or removal of an existing assembly. List those responsibilities before work starts. Keep exclusions visible in the project scope instead of discovering them at installation.
A sweep or seal addresses a particular interface; it does not replace a suitable enclosure layout. Review spray direction, curb geometry, opening position, and specified sealing details together. Investigate the source of escaping water before changing components.
The homeowner needs more than cleaning advice. Retain the approved enclosure details and identify installed hardware, seals, and sweeps so future service starts from the actual assembly rather than visual guesswork.
What are the best glass shower doors for contractors?
The best glass shower doors for contractors fit the finished opening, operate without fixture conflicts, and have clearly assigned installation responsibilities. Choose framed or frameless construction after confirming layout, support, and homeowner preferences.
When should a contractor measure for a custom shower enclosure?
Confirm fabrication measurements when the relevant finished surfaces are complete and the fabricator’s measurement requirements are satisfied. Earlier measurements support planning but should not be treated as final without the fabricator’s approval.
Are frameless shower doors better than framed doors for a remodel?
Frameless shower doors are better when the homeowner prioritizes less visible framing and the approved assembly suits the opening. Framed doors suit homeowners who prefer defined panel edges; neither construction removes the need for correct support and installation.
Should I choose a sliding or hinged shower door in a small bathroom?
Choose a sliding layout when a hinged door’s operating path conflicts with nearby fixtures, provided the sliding arrangement gives a usable entry. Check panel overlap, handle access, and cleaning access before approval.
Does Showerdoor manufacture and install custom enclosures?
Showerdoor manufactures and installs custom framed and frameless glass shower enclosures for homeowners in California, Arizona, and Nevada. Confirm the scope and suitability of the specific homeowner project directly.
Who should approve shower door mounting details?
The enclosure installer should confirm mounting requirements, with framing and waterproofing details coordinated by the responsible project trades. The contractor should record those decisions before affected surfaces are closed or penetrated.
What should a contractor check before shower door handoff?
Check operation, fixture clearance, specified hardware, seals, and sweeps against the approved assembly and installation instructions. Complete permitted water checks and provide care instructions plus component records.
Keep the final enclosure drawing with the bathroom’s closeout records. A replacement sweep, handle, or seal must match the installed assembly, not merely resemble a photograph. In 2026, make that drawing part of your standard handoff alongside care instructions and service contacts.


