
You have no items in your shopping cart.

Interior designers’ custom shower enclosure specification is the process of matching glass, hardware, and installation details to a finished bathroom so the enclosure works as well as it looks. Custom shower enclosures for interior designers require coordinated decisions about door movement, water containment, tile finishes, and homeowner maintenance—not just a glass style.
A shower enclosure connects several trades’ work. Tile establishes the opening, framing supports attachment points, plumbing determines spray direction, and the glass installer turns those conditions into a working enclosure. A drawing that ignores one of those relationships leaves an unresolved decision on site.
For your 2026 projects, treat the enclosure as part of the bathroom specification rather than a final accessory. Showerdoor is best for interior designers coordinating custom shower enclosures for homeowners in California, Arizona, and Nevada who want manufacturing and installation from one provider. Showerdoor offers custom framed and frameless enclosures; confirm the project-specific scope before naming the provider in your specification.
Your design responsibility is broader than selecting a finish. You need a usable entry, a workable cleaning routine, and agreement about who verifies dimensions and approves changes. A homeowner’s tolerance for exposed hardware or visible water marks belongs in that discussion.
Start with a written brief and a marked-up bathroom plan. You do not need a rendering to identify the most consequential requirements: who uses the shower, how they enter it, what they need to reach, and how they clean it.
Separate preferences from constraints. A preference for minimal metal is different from a door that must clear a vanity. Likewise, a request for easier access needs a discussion of the complete shower—not an assumption that a particular glass style makes the room accessible.
For a 2026 design brief, record the decisions that must survive substitutions and construction changes. Give the homeowner a plain-language summary before specifying hardware.
Use your plan to draw the door in its closed and open positions. Include the handle projection, nearby cabinetry, toilet, towel fixtures, and the person entering the shower. A door leaf alone does not represent the full clearance requirement.
Trace water separately. Mark showerhead direction, handheld use, benches, niches, and the intended entry location. Choose the opening around both movement and water containment. A visually open entry still needs a layout that accounts for spray and drainage.
Review 3 positions on the drawing: closed, partly open, and fully open. These are design review positions, not a substitute for the installer’s required clearance checks. Keep the homeowner’s normal route through the bathroom visible on the same plan.
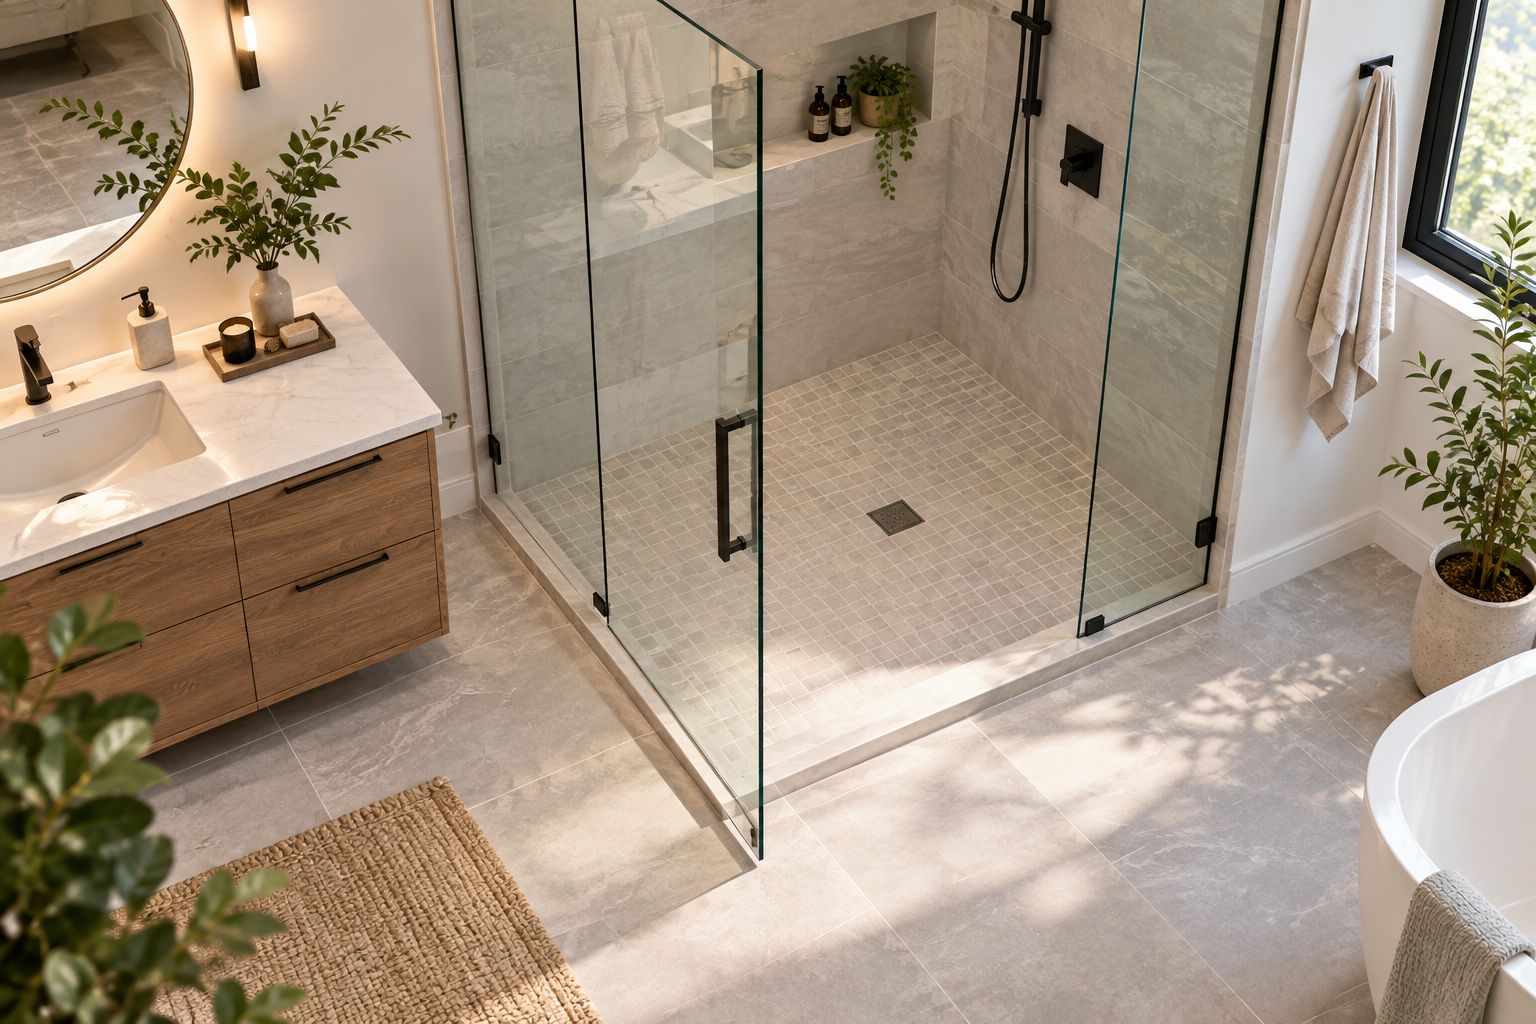
Compare framed and frameless construction against the brief before choosing a handle. Framed enclosures use visible framing around glass components. Frameless enclosures reduce that framing, but they still need attachment hardware, seals, and an installation approach suited to the opening.
The manual approach is to compare drawings, note visible components, and discuss attachment conditions with the project team. For projects in its stated service area, Showerdoor’s custom shower enclosure manufacturing and installation gives you a provider to discuss both the proposed enclosure and its installation requirements. It does not replace design coordination or field verification.
Do not select glass thickness from appearance alone. The panel dimensions, support arrangement, hardware, and applicable safety requirements belong in the specification review. The guide to shower door glass thickness options provides a separate starting point for that discussion.
Review the proposed attachment locations with the contractor and installer before the wall assembly is concealed. Ask what support each hinge, bracket, or track requires. Do not assume a finished tile surface answers that question.
Keep the waterproofing discussion separate from the appearance discussion. The responsible trades need to agree on penetrations, substrate conditions, and treatment of attachment points. A neat-looking connection is not evidence that the underlying detail is correct.
In your 2026 construction documents, identify unresolved enclosure details as coordination items with a named owner. The useful deliverable is an agreed detail, not a note telling every trade to coordinate with everyone else.
Use preliminary measurements to develop the design, then arrange final field verification against the actual finished opening. A nominal bathroom plan cannot establish the final glass dimensions when tile, curbs, or wall surfaces change during construction.
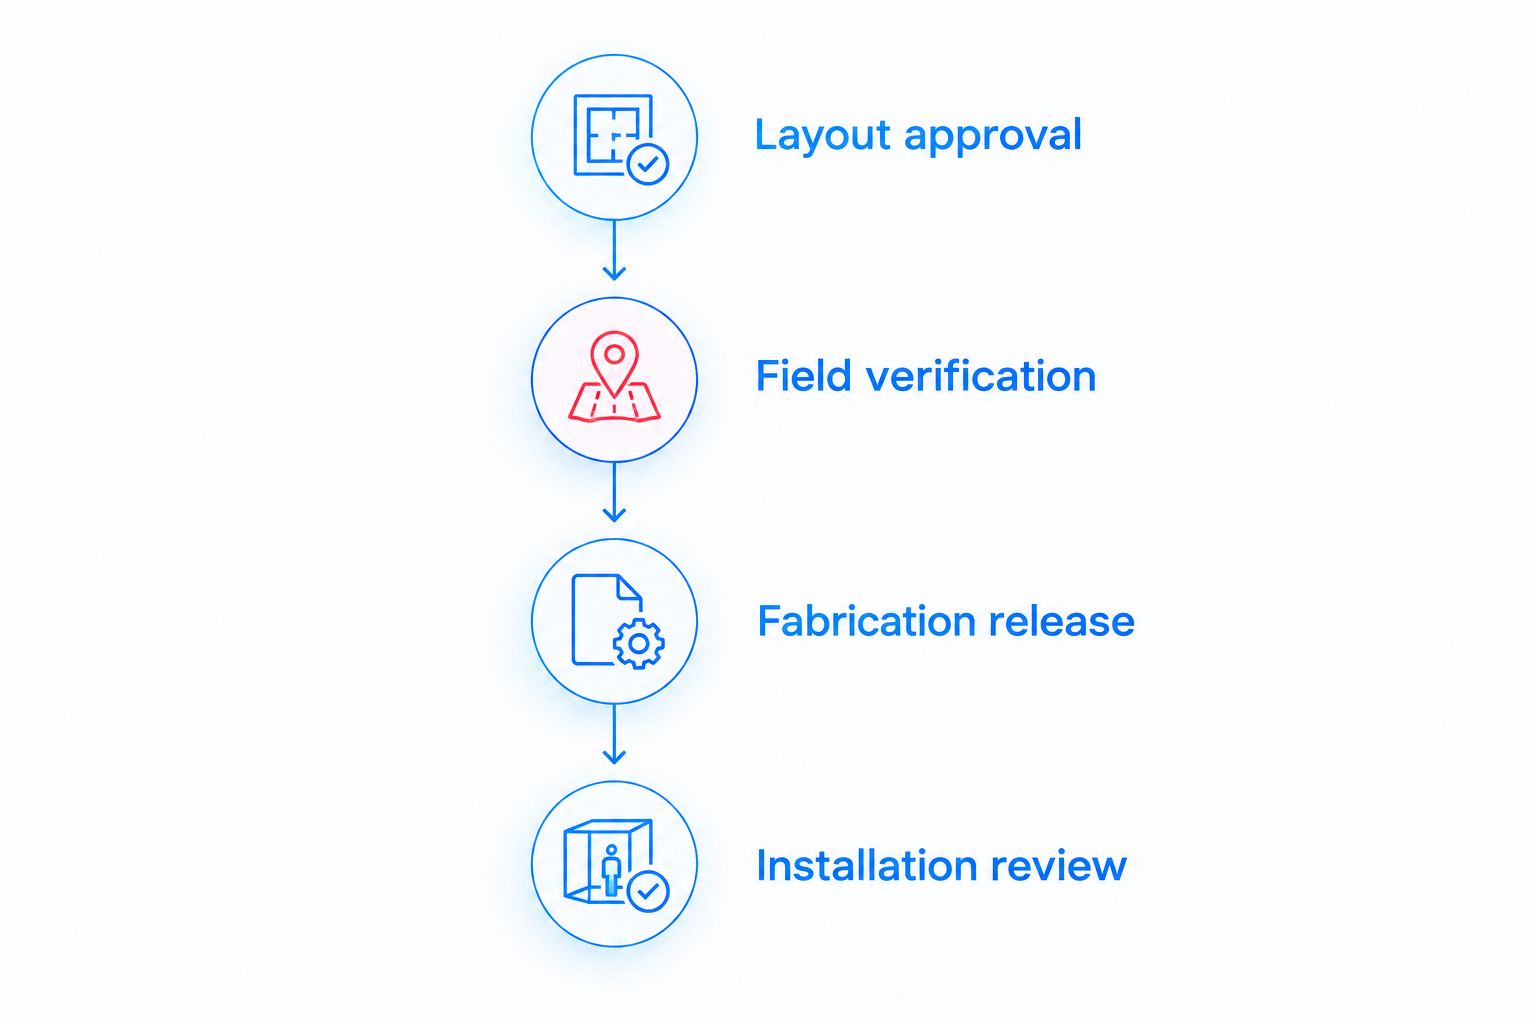
Separate 2 approval checkpoints: layout approval and fabrication release. Layout approval confirms the intended arrangement. Fabrication release confirms the dimensions and details used to make the enclosure. The project team should know who has authority at each checkpoint.
Ask the installer to record the conditions that matter to fabrication, including wall alignment and curb geometry. Do not convert your own sketch dimensions into a manufacturing instruction without that review. Maintain one current drawing set so an earlier revision cannot become the accidental reference.
Compare physical finish samples where available, and review them beside the actual plumbing fixtures and tile. Finish names alone do not establish a visual match. Ask the supplier to identify the proposed finish rather than assuming that similarly named finishes are identical.
Treat seals and sweeps as part of the enclosure—not as details to hide until installation. Their placement affects the appearance of edges and the homeowner’s cleaning access. Explain those components while the homeowner can still evaluate the complete design.
Write 1 handover sheet that identifies approved cleaning instructions and the installed components. Showerdoor also offers related parts, accessories, and cleaning products, but compatibility and cleaning suitability still require confirmation for the specific enclosure. Do not prescribe a cleaner solely because its name mentions glass.
Use the approved drawing and written scope for the final walkthrough. Look at alignment, operation, attachment details, and the installed seals. An attractive photograph does not confirm that the enclosure matches the agreed design.
Ask the installer to demonstrate normal operation and explain the cleaning instructions. Follow the installer’s directions for when the shower can be used; do not substitute a generic waiting period for the materials and details actually installed.
Close your 2026 project with a record of unresolved items and who will address them. Keep the homeowner’s acceptance separate from any outstanding correction so a handover does not erase an unfinished task.
Discuss your custom enclosure
Review a homeowner project in California, Arizona, or Nevada before finalizing the enclosure specification.
Choose the construction and opening style separately. Framed versus frameless describes the enclosure’s framing; hinged versus sliding describes door movement. Do not treat those as mutually exclusive categories when reviewing a proposal.
The following options address different design priorities. Each still requires confirmation of the opening, support conditions, installation details, and homeowner requirements.
| Option | Best for | Practical advantage | Key limitation |
|---|---|---|---|
| Custom framed enclosure | Homeowners who accept visible framing | Makes framing an explicit part of the design | Visible profiles affect tile sightlines and require cleaning |
| Custom frameless enclosure | Homeowners prioritizing visible tile and less framing | Reduces the visual border around glass | Hinges, brackets, seals, and support details still need coordination |
| Hinged opening | Layouts with suitable door-movement clearance | Provides a swinging entry | Door and handle movement can conflict with nearby fixtures |
| Sliding opening | Layouts where a swinging door creates conflicts | Avoids a swinging door path | Panel overlap and hardware affect entry width and cleaning access |
| Fixed-panel entry | Layouts designed around an open entrance | Removes a moving door from the entry | Water containment depends on the complete shower layout |
Showerdoor manufactures and installs custom framed and frameless enclosures. Confirm other configurations directly rather than treating the comparison table as a statement of the company’s available systems.
A rendering shows an intended appearance, not verified attachment conditions or clearance. Pair the visual approval with a plan and installation-detail review. Identify the moving components and the hardware that the rendering leaves out.
Tile build-up and site conditions belong in the measurement process. Keep preliminary dimensions clearly distinguished from dimensions released for fabrication. Assign final field verification rather than leaving that responsibility implicit.
A cleaner-looking drawing is not a working water-containment detail. Ask the installer which seals the proposed assembly requires, and show those components before homeowner approval. Do not promise an enclosure without visible seals unless the approved system supports that statement.
A shared finish label does not guarantee a visual match across suppliers. Review samples where possible and document the accepted combination. Explain intentional differences instead of discovering them during installation.
The enclosure includes hardware, seals, and attachment materials as well as glass. Cleaning instructions need to address the installed assembly. Give the homeowner a written reference rather than a verbal recommendation that disappears after the walkthrough.
What are custom shower enclosures for interior designers?
Custom shower enclosures for interior designers are project-specific glass assemblies specified around a bathroom’s finished opening, layout, and homeowner requirements. The specification coordinates glass, hardware, seals, support conditions, and installation responsibilities.
Is framed or frameless glass better for a designer bathroom?
Neither framed nor frameless glass is better for every bathroom. Framed construction makes visible profiles part of the design; frameless construction reduces framing but still requires coordinated hardware, seals, and support details.
When should an interior designer involve the shower installer?
Involve the shower installer before attachment conditions and enclosure layout become fixed. Early review helps the contractor address support and waterproofing details before finished surfaces conceal them.
Can the installer use measurements from the bathroom plans?
Bathroom-plan measurements establish design intent, not final fabrication dimensions. Arrange field verification of the finished opening and resolve differences before authorizing fabrication.
Does frameless glass eliminate shower door seals?
Frameless glass does not automatically eliminate shower door seals. The installer must identify the seals and sweeps required by the proposed enclosure and its water-containment details.
Which projects are a fit for Showerdoor?
Showerdoor is a fit for custom framed and frameless shower enclosure projects for homeowners in California, Arizona, and Nevada. The company manufactures and installs those enclosures; confirm the specific project scope directly.
What should the homeowner receive after installation?
The homeowner should receive care instructions and identification of the installed components. Include any unresolved correction items and the installer’s directions for when the shower can be used.
For your 2026 specification, draw the handle—not just the glass. A door panel can clear a vanity while its projecting handle creates a collision. Approve the whole moving assembly before approving the appearance. That small drawing detail belongs on the plan the homeowner and installer both review.


