
You have no items in your shopping cart.

Instead of coordinating demolition, plumbing, and glass measurements separately, plan your tub to shower conversion with glass door around clear handoffs: prepare the shower, verify waterproofing, measure finished surfaces, then install and test the enclosure. This 2026 workflow keeps preliminary dimensions from becoming a glass order that does not fit.
Showerdoor is best for homeowners seeking custom glass shower enclosures with installation in California, Arizona, and Nevada. Its stated scope covers manufacturing and installing enclosures—not the entire tub-removal, plumbing, or waterproofing project. Coordinate those responsibilities with your remodel contractor before arranging the Showerdoor enclosure installation.
A conversion changes more than the entrance. Removing the tub exposes a space that needs a shower-compatible drain arrangement, a waterproof base, finished walls, and suitable attachment points for glass hardware. Each decision affects the next trade.
For a 2026 remodel, separate design approval from fabrication approval. You can choose the enclosure layout early, but final glass dimensions must reflect the surfaces that will actually surround it. Tile, wall alignment, and threshold geometry all affect that opening.
This is a coordination guide, not a substitute for the selected systems' installation instructions. Have qualified trades handle plumbing, waterproofing, and glass work. Heavy glass panels and concealed water damage are not suitable places to improvise.
The first configuration unit is the door layout. Decide how the enclosure will operate before demolition, then verify that the proposed arrangement works with the completed shower.
Expected result: You have an agreed enclosure layout and an attachment plan, with unresolved clearance issues addressed before finish work.
Door movement and framing are separate choices. A frameless enclosure is not automatically hinged, and a framed enclosure is not automatically sliding.
| Arrangement | Best for | Advantage | Limitation to check |
|---|---|---|---|
| Hinged glass door | Bathrooms with clear door-swing space | Opens without overlapping sliding panels | Swing and handle can conflict with nearby fixtures |
| Sliding glass door | Layouts where a door swing would obstruct fixtures | Door movement stays within the enclosure span | Overlapping panels reduce the usable entrance |
| Framed glass enclosure | Homeowners who prefer perimeter framing | Frame defines and supports the enclosure assembly | Frame and track joints add cleaning areas |
| Frameless glass enclosure | Homeowners who prefer less visible perimeter framing | Exposes more of the tile and glass edges | Mounting, alignment, and edge-seal details need careful coordination |
Choose by entry clearance first, appearance second. Neither framing style fixes an undersized entrance, an obstructed door swing, or a showerhead aimed toward the opening.
For Showerdoor custom shower enclosures, confirm the proposed arrangement with the installer rather than assuming every layout suits the existing tub footprint. The service fits homeowners seeking a manufactured-and-installed enclosure; the remaining conversion work still needs an assigned contractor.
The next configuration unit is the water-containing assembly. Glass installation comes later because enclosure seals cannot compensate for a defective base or wall connection.
Expected result: The shower base and waterproofing are accepted for finish work, and the enclosure installer knows which mounting details the assembly permits.
Keep a photo record of concealed backing and plumbing routes. These photos help the installer identify support locations, but they do not authorize drilling through waterproofing or prove that a hidden assembly is sound.
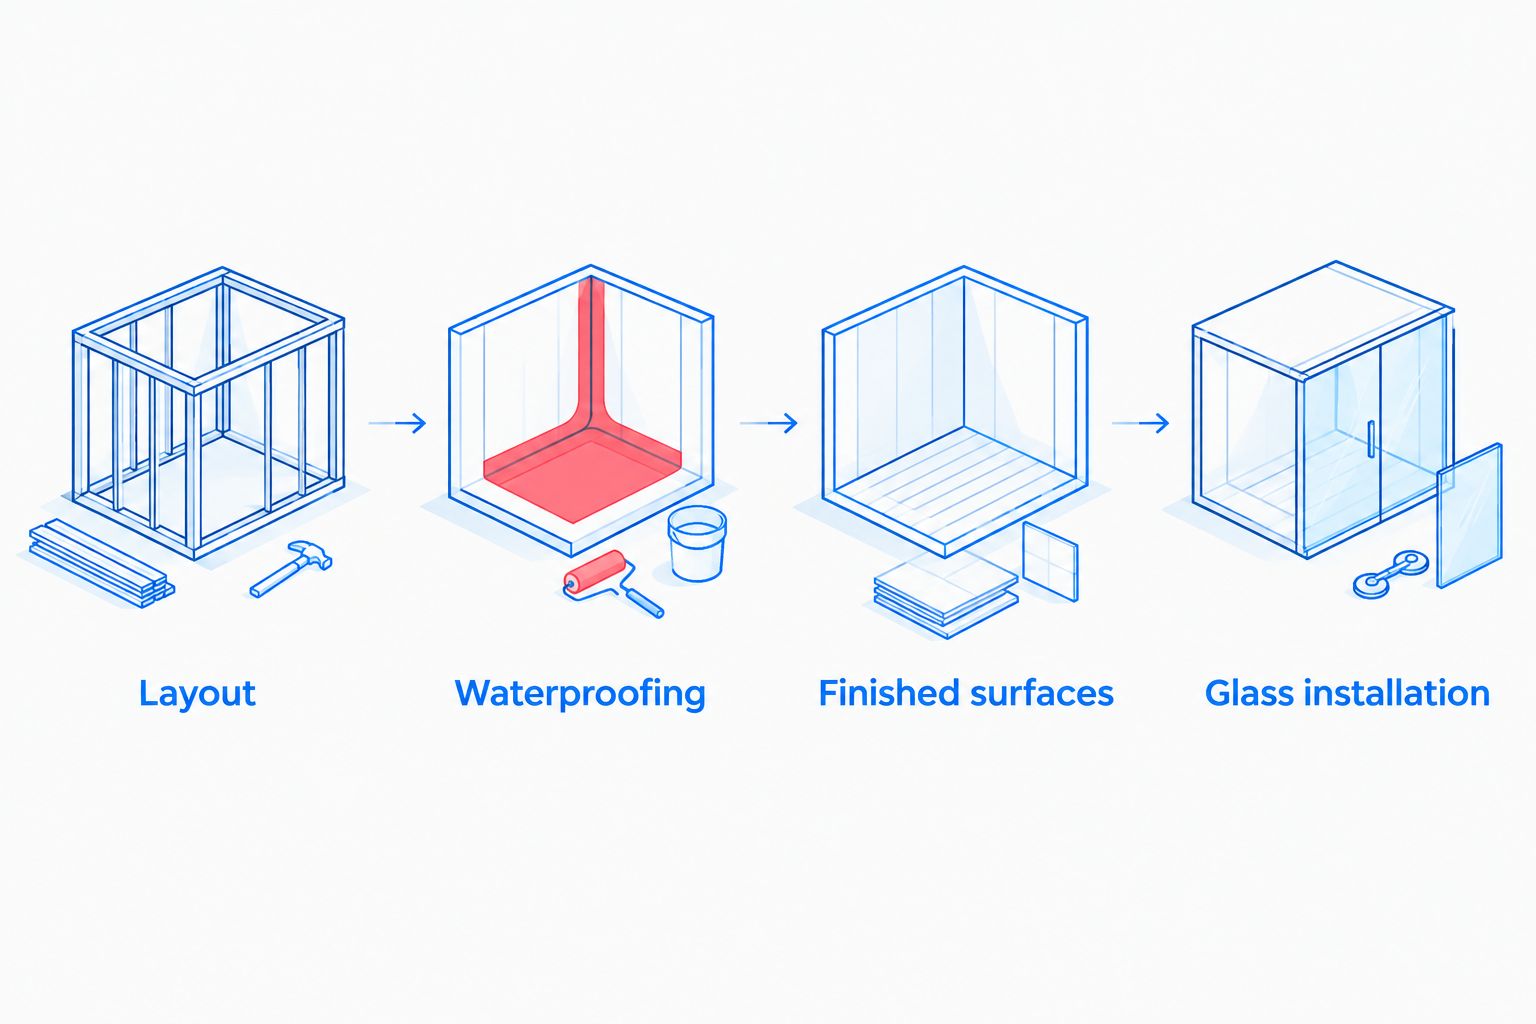
For your 2026 project, make the waterproofing handoff explicit: who performs the test, who accepts it, and who authorizes the next trade. A calendar date alone is not evidence that the shower is ready.
The third configuration unit is the actual opening. This is where planning dimensions become an installation-specific glass specification.
Expected result: The enclosure specification matches the finished opening, and you have approved the actual door operation—not just a sketch of the former tub space.
Do not order custom glass from the tub's nominal dimensions. Even a rectangular-looking opening can have walls that lean or a threshold that changes level across its length. The installer needs those conditions before determining panel geometry and clearances.
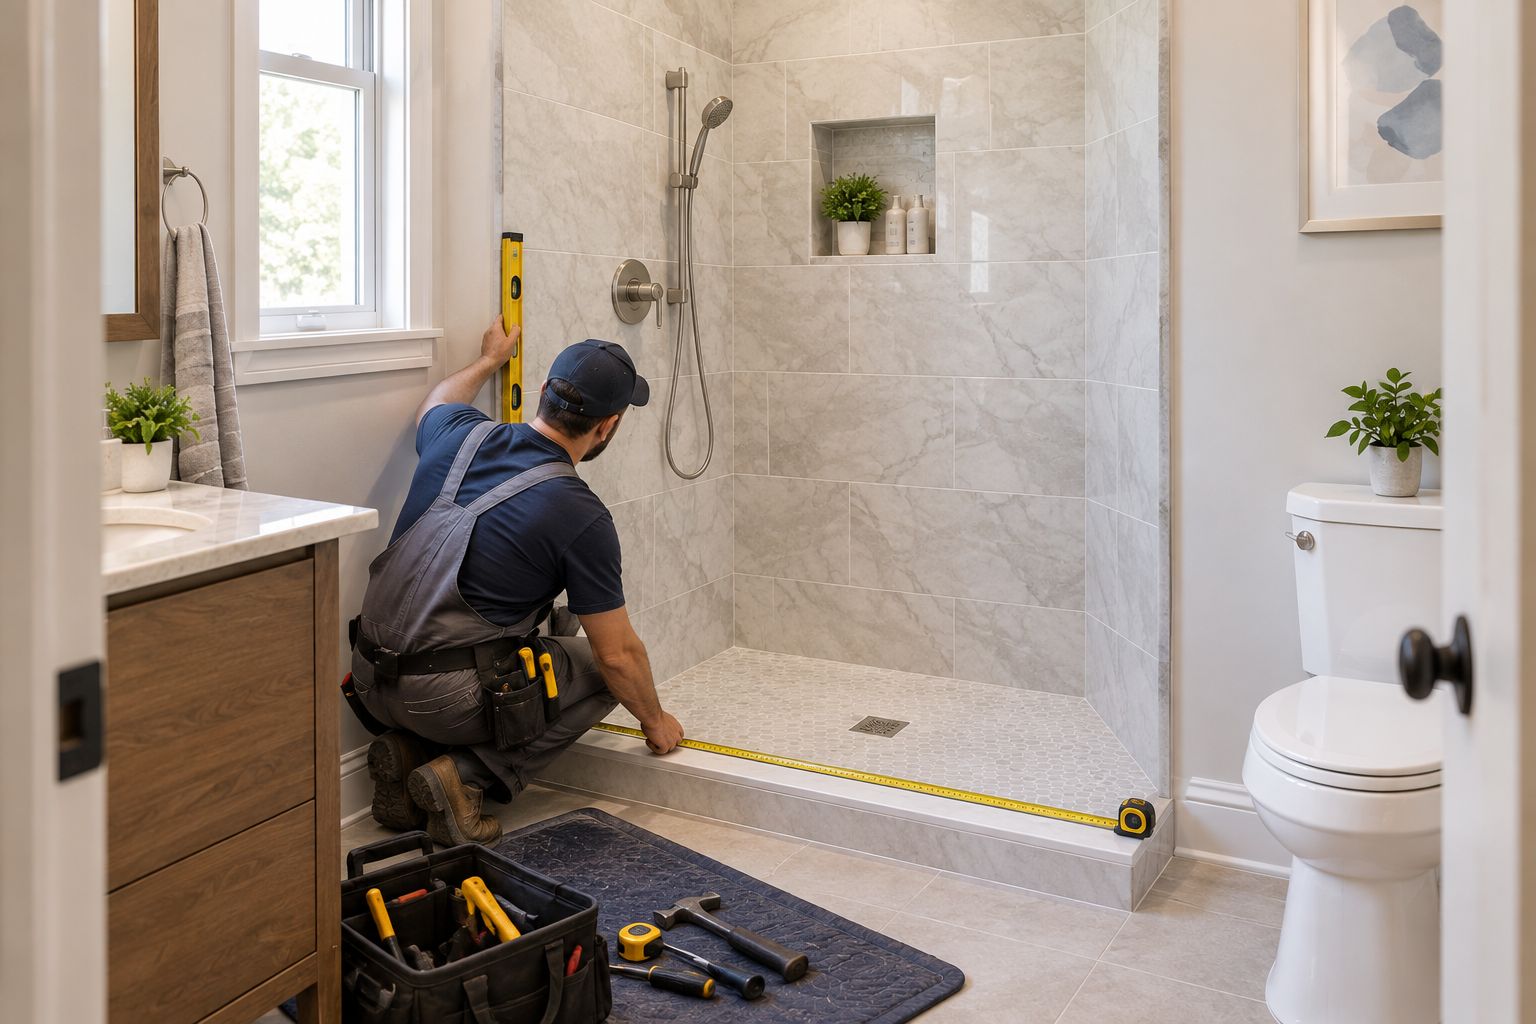
Final measurement also protects the work order from later changes. If the contractor replaces the threshold finish or adds another wall layer afterward, tell the glass installer immediately. Do not assume the approved dimensions remain valid.
The final configuration unit combines attachment, door operation, sealing, and water testing. A door that looks straight is not necessarily ready for use.
Expected result: The door operates correctly, water remains contained under the tested conditions, and you receive the operating and cleaning instructions.
In the 2026 handoff, ask the installer to identify where sealant belongs and where drainage paths must remain open. Adding caulk everywhere can interfere with an assembly's intended drainage. Record unresolved issues before accepting the installation.
A curbless conversion removes the raised entry barrier, but it requires a different floor and water-containment plan. It is not simply the same installation with the curb omitted.
Best for: Homeowners prioritizing an easier entry transition. Trade-off: Floor construction, drainage, waterproofing, and the glass opening need closer coordination to keep shower water away from the surrounding bathroom.
Before demolition, have the contractor assess the floor assembly and proposed drainage approach. Give the enclosure installer the intended finished-floor geometry and door position. Confirm how the door will clear the floor and how water at the entrance will return toward the drain.
Follow the same handoffs: layout, waterproofing, finished surfaces, then glass installation. The curbless shower pan to frameless door installation workflow covers that adjacent project in more detail.
A curbless entrance alone does not establish accessibility compliance. Review the complete bathroom layout, entry opening, controls, and required supports against the project's actual accessibility requirements.
Stop using the door if contact risks damaging the glass. Have the installer compare the actual swing with the approved layout; a handle change, layout revision, or different operating arrangement needs professional assessment.
Identify the escape point during a controlled test. Water at a door edge calls for a clearance and seal check; water emerging from beneath the base or adjacent walls requires investigation of the shower assembly, not another door sweep.
Have the installer check door alignment, threshold geometry, and sweep compatibility. Do not raise or trim parts at random to hide an underlying installation error.
The listed Frameless Door Sweep has versions for 1/4-inch, 3/8-inch, and 1/2-inch glass. Those are compatibility dimensions, not a recommendation to change glass thickness. Match the actual pane and installation detail before selecting a replacement.
Pause fabrication or installation and request a corrected measurement. Extra sealant is not a substitute for correctly sized glass, compatible hardware, or an approved accommodation for an uneven wall.
Expand the installation checklist to include daily use. Confirm where you will stand to open the door, how you will reach the controls, and whether you can clean the glass edges, seals, and tracks without awkward access.
For a 2026 maintenance plan, keep the enclosure specification, hardware information, seal details, and installer instructions together. Replacement components should match the installed assembly, not merely resemble the old part.
Showerdoor manufactures and installs framed and frameless custom shower enclosures. Ask for an enclosure arrangement that matches your finished bathroom and entry needs; do not treat the glass selection as a substitute for the contractor's waterproofing plan.
What is the correct order for a tub to shower conversion with glass door?
Plan the layout, complete the plumbing and waterproofing, finish the opening, then measure and install the glass. Test the completed enclosure after the specified sealant curing period.
Can I order the glass door before the tile is installed?
You can plan the enclosure before tiling, but final custom glass dimensions should come from the finished opening. Wall finishes and threshold geometry affect panel dimensions and clearances.
Is a sliding door better than a hinged door for a tub conversion?
A sliding door is better when a hinged door would obstruct nearby fixtures. A hinged door suits layouts with adequate swing clearance; compare the usable entrance as well as door movement.
Does a frameless shower door waterproof the shower?
No, a frameless shower door controls splash but does not waterproof the shower base or walls. The waterproofing assembly must function independently of the glass enclosure.
Can I keep the existing bathtub drain for the new shower?
Do not assume the existing bathtub drain arrangement is suitable for the new shower. Have a plumber verify the connection, location, and applicable local requirements before installing the base.
How long should I wait before using the new glass shower enclosure?
Wait until the installed sealant reaches the water-exposure condition specified by its manufacturer. The installer should give you instructions for the actual materials used, rather than a universal waiting period.
Does Showerdoor handle the whole tub-to-shower remodel?
Showerdoor's stated services cover manufacturing and installing custom glass shower enclosures, plus related parts, accessories, and cleaning products. Assign demolition, plumbing, waterproofing, and finish work separately with your remodel contractor.
The most useful pre-installation photo is often the wall before it is tiled. Photograph structural backing and concealed plumbing while they are visible, then keep those images with the approved enclosure drawing. A polished finished surface hides the information the next trade needs.


