
You have no items in your shopping cart.

Instead of repeatedly drying a leaking bathroom floor, use this water damage shower door replacement workflow to identify the leak, repair the affected shower assembly, and install a new frameless enclosure only after the opening is ready. For a 2026 replacement project, Showerdoor manufactures and installs custom framed and frameless glass shower enclosures for homeowners in California, Arizona, and Nevada.
A new shower door cannot repair a leaking shower pan, damaged waterproofing, or a plumbing leak. Glass controls splash at the opening. The shower's waterproofing system manages water that reaches the underlying assembly.
Water outside the shower does not identify the failed component by itself. A missing sweep, an outward-sloping threshold, and a concealed plumbing leak need different repairs. Replacing the enclosure without separating those causes leaves the original problem unresolved.
For a 2026 remodel, put diagnosis before design. That sequence also prevents you from ordering glass against dimensions that change when damaged tile, backing, or the threshold is rebuilt.
Stop using the shower when water is escaping into the building, glass is damaged, or hardware is loose. Keep people away from wet electrical equipment; do not investigate an electrical hazard yourself. Have the appropriate professional address that condition before anyone resumes work.
Expected result: You have a documented cause and repair scope, rather than an assumption that all water outside the shower comes through the door.
Water location alone is not proof. Water can travel along concealed surfaces before appearing at a wall or floor joint. Likewise, water at the door bottom can result from spray direction or threshold geometry rather than a defective glass panel.
Use the diagnosis to choose between a component repair, enclosure replacement, and rebuilding the affected shower assembly. These are repair paths, not interchangeable products.
| Repair path | Best for | Advantage | Limitation |
|---|---|---|---|
| Compatible Frameless Door Sweep replacement | A diagnosed door-bottom splash gap with sound glass and secure hardware | Addresses the identified gap without replacing the enclosure | Does not correct failed waterproofing, plumbing leaks, or unsuitable threshold slope |
| Complete enclosure replacement | An enclosure with damaged glass, unsuitable fit, or a layout being changed | Allows the opening, door operation, and splash-control details to be reconsidered | Does not restore damaged backing or waterproofing beneath the finishes |
| Shower assembly repair before enclosure work | Confirmed damage to waterproofing, supporting materials, or surrounding construction | Repairs the underlying problem before glass installation | Requires coordination with trades beyond the enclosure installer |
Choose the smallest repair that fully addresses the diagnosed failure. A sweep is not a substitute for structural or waterproofing repair. Conversely, intact glass does not need replacement solely because the bathroom experienced water damage elsewhere.
Expected result: The leak repair is complete, the mounting arrangement is coordinated, and the finished opening is ready for an installer to measure.
Keep the repair record specific. A statement that the bathroom is finished does not identify whether the plumbing was repaired, the damaged backing was replaced, or the waterproofing detail was restored. Ask each responsible trade to record its own completed scope.
In your 2026 project file, separate restoration approval from enclosure approval. The glass installer verifies the enclosure fit and installation; the contractor responsible for the shower assembly verifies that assembly's repair.
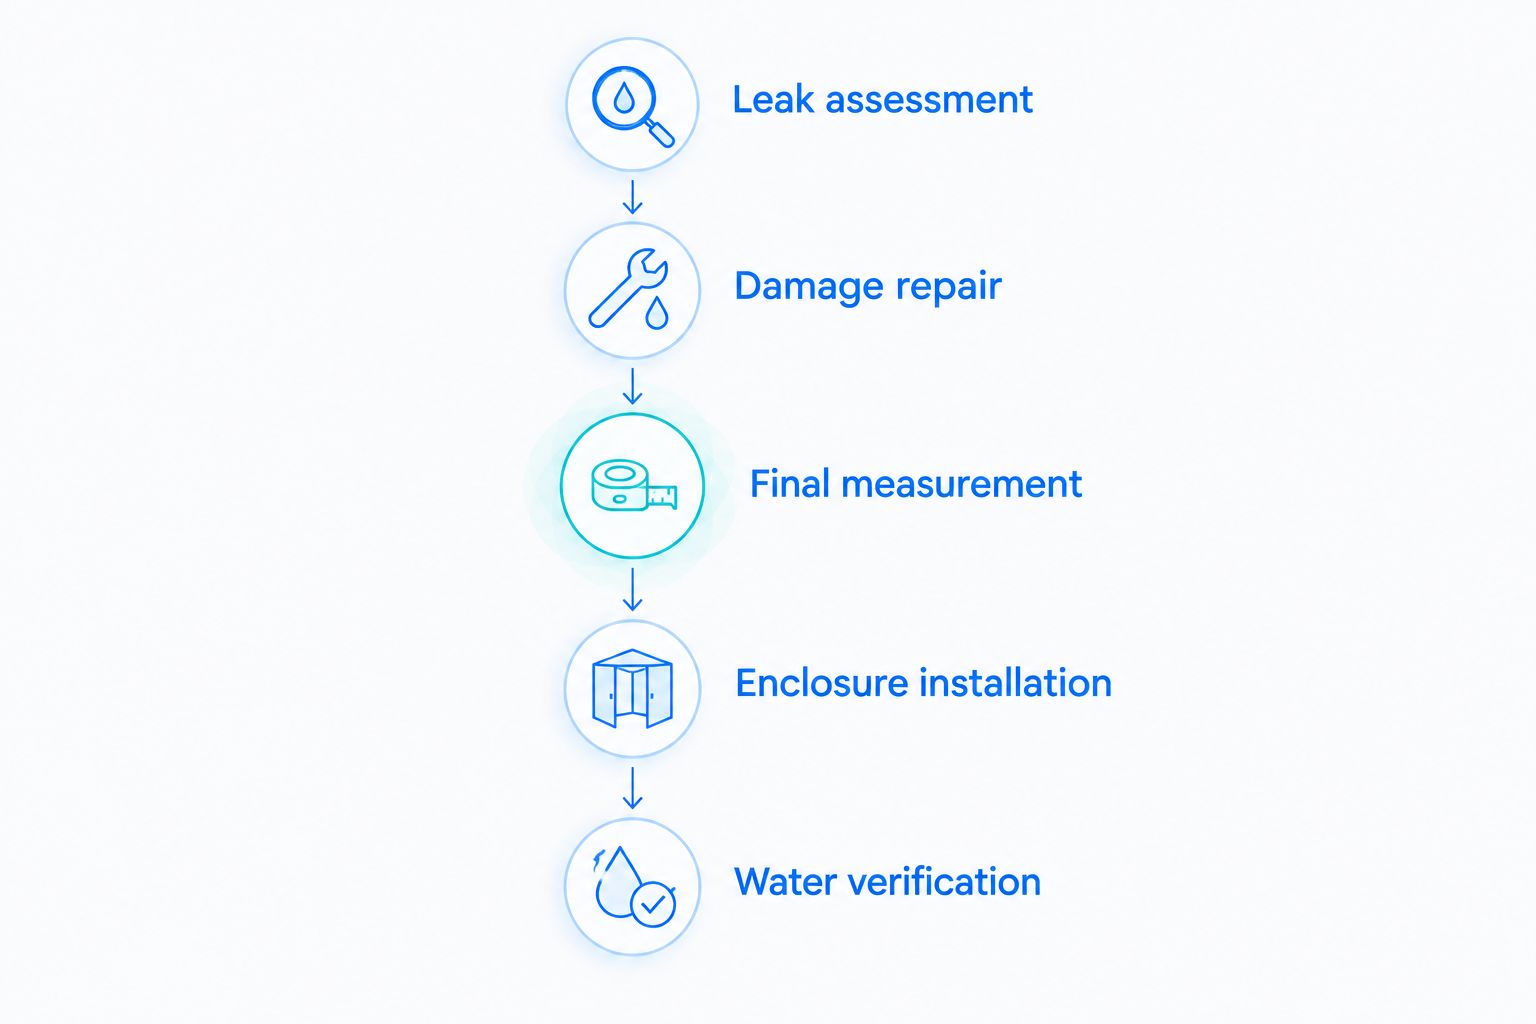
Expected result: The approved enclosure matches the finished shower, and each installer knows which details belong to their scope.
The listed Frameless Door Sweep has variants for 1/4-inch, 3/8-inch, and 1/2-inch glass. Those dimensions describe sweep compatibility; they are not instructions to select a glass thickness for a new enclosure. Confirm the existing glass thickness and the required seal profile before a component-only repair.
Showerdoor's custom shower enclosure service is best for homeowners who need manufacture and installation in its stated service areas. Its scope covers the enclosure; arrange separate assessment of plumbing, remediation, and waterproofing rather than treating the glass order as the entire water damage repair.
For a 2026 replacement, keep the specification tied to the actual opening. A frameless appearance does not remove the need for seals, secure mounting, or coordinated waterproofing details.
Expected result: The enclosure operates correctly, the agreed water check is complete, and unresolved leakage remains an open repair item.
In the 2026 handover record, distinguish successful door operation from successful water control. Both matter. Neither replaces confirmation that the underlying water damage repair was completed.
A component-only workflow fits a shower with a confirmed seal defect, sound glass, secure hardware, and no unresolved damage to the surrounding assembly. Its advantage is a narrower repair scope; its limitation is that it leaves the enclosure's existing layout unchanged.
Expected result: The identified seal defect is corrected without unnecessary enclosure replacement. If water still escapes, return to diagnosis rather than adding successive layers of tape or caulk.
Stop using the shower if leakage is reaching building materials. Have the responsible trade reassess the source, including plumbing, threshold geometry, enclosure joints, and waterproofing. Do not assume the replacement door caused or solved every leak.
Stop forcing the door. Ask the installer to check profile compatibility, glass thickness, clearance, and door alignment. A seal that prevents normal operation is not an acceptable splash-control repair.
Have the installer and waterproofing contractor inspect the attachment detail together. Do not remove the fastener yourself or hide the area with another surface bead. The repair must address the actual water path and maintain secure glass support.
Use measurements from the completed repair, not the original enclosure. If glass has already been ordered, have the installer reassess fit before installation. Do not compensate for an unsuitable fit with oversized joints or improvised hardware.
Add accessibility, maintenance access, or a revised door layout while the opening is being repaired. Identify those requirements before final measurement, not after glass fabrication.
For a curbless shower, coordinate the enclosure with the floor drainage and waterproofing design. For a rental bathroom, preserve component records so a future repair can identify the installed sweep and hardware without guesswork.
Keep Showerdoor's custom shower enclosure work aligned with the broader repair schedule. The next move is a documented handoff: repaired opening, confirmed mounting details, approved enclosure specification, and an agreed water-verification plan.
Do I need shower door replacement after water damage?
You need shower door replacement when the enclosure itself requires replacement, not simply because water damage occurred. Identify whether the source is the door, plumbing, drainage, or waterproofing before choosing the repair.
Can a new frameless shower door fix a leaking shower pan?
No. A new frameless shower door controls splash at the opening but does not repair a leaking shower pan or its waterproofing. Repair the underlying failure before enclosure installation.
Should I replace the shower door before repairing the wall?
Complete repairs that affect the finished opening before final measurement for a custom shower door. Changes to tile, backing, or the threshold can change the required enclosure dimensions.
Can I replace just the bottom seal on a frameless shower door?
Yes, when a compatible seal addresses the diagnosed defect and the glass and hardware remain sound. Confirm glass thickness, seal profile, and door clearance before replacement.
How long should I wait before using the new shower enclosure?
Follow the cure and use instructions for the actual materials installed. Obtain those instructions from the installer rather than applying a generic waiting period.
Who handles water damage before a shower door is installed?
The responsible plumbing, repair, or remediation trade handles the underlying water damage within its scope. The enclosure installer handles glass fit and installation; coordinate both scopes before work begins.
Is a frameless shower enclosure completely watertight?
A frameless shower enclosure is not a substitute for the shower's waterproofing system. Its water control depends on the enclosure layout, compatible seals, threshold geometry, and normal shower spray.
Photograph the mounting support and repaired waterproofing details before the finishes conceal them. Give those records to the enclosure installer and keep them with your 2026 repair file. A photo of the completed glass cannot show what supports it or how the concealed repair was completed.


