
You have no items in your shopping cart.

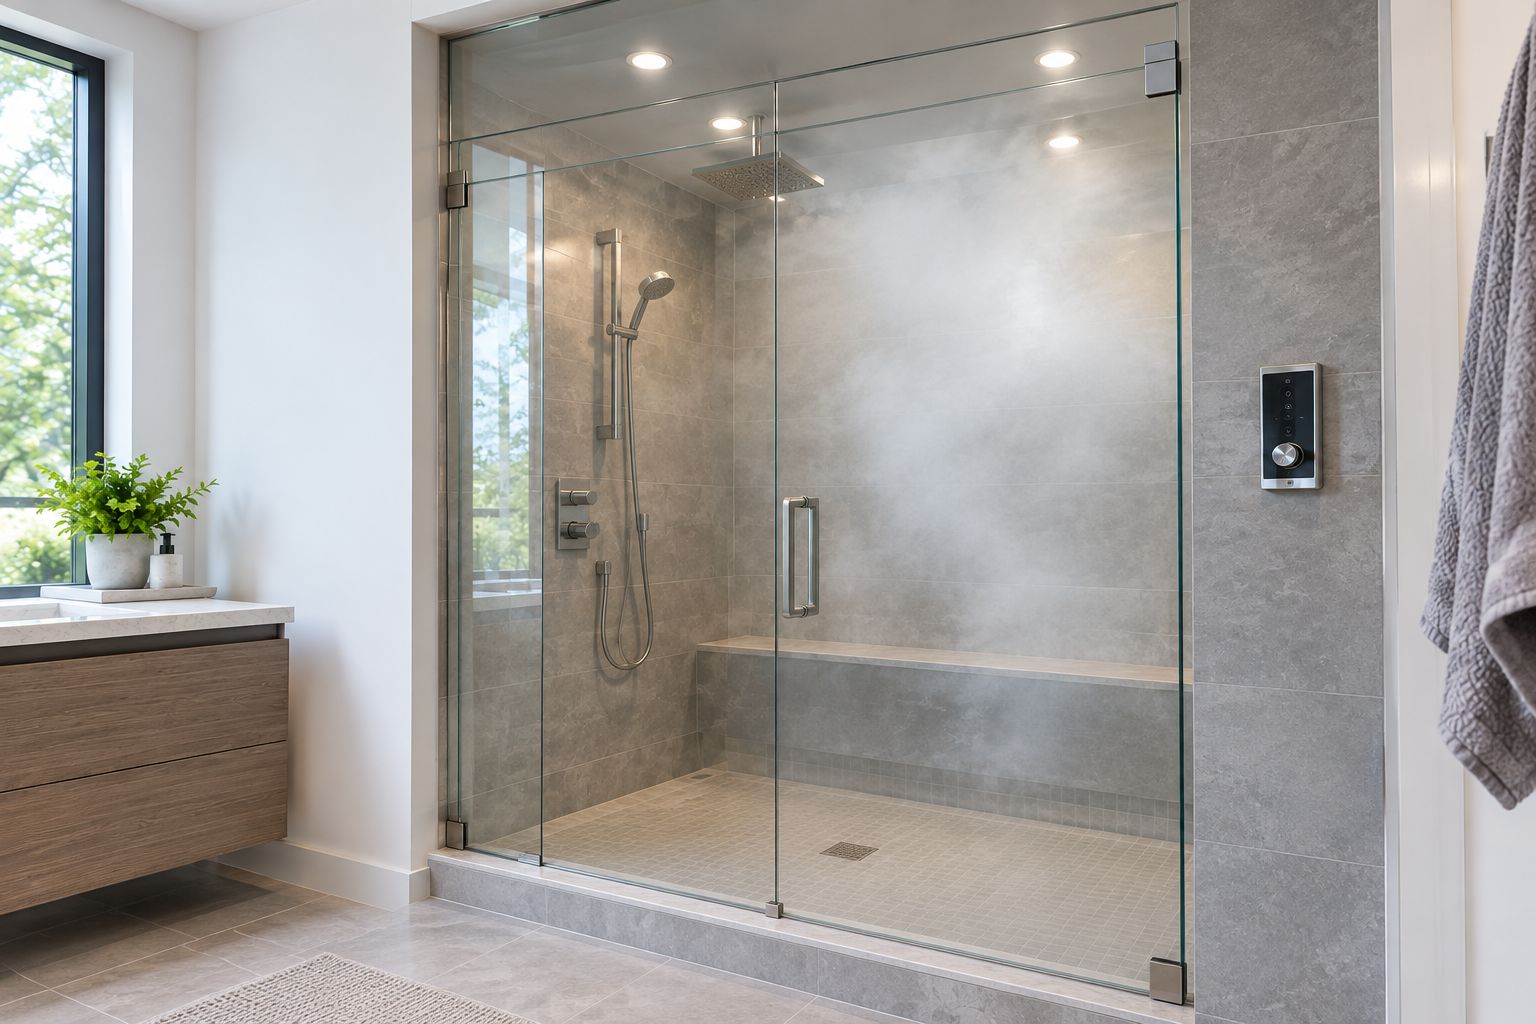
Instead of repeatedly adjusting an ordinary shower door after steam escapes, plan a frameless shower door for steam shower use as part of a fully enclosed, steam-compatible shower assembly. The door does not connect to the generator electrically or through plumbing; your installer coordinates the glass, perimeter seals, ceiling closure, drainage, and safe access with the steam-system instructions.
A conventional shower enclosure controls splashing. A steam enclosure also needs to limit steam escape through its door opening, upper boundary, and adjoining surfaces. Adding a bottom sweep does not turn an open-top shower into a steam room.
Showerdoor is best for homeowners seeking custom shower enclosure manufacture and installation in California, Arizona, and Nevada. Start your 2026 project discussion with Showerdoor and identify steam use before anyone measures or specifies the glass. Custom manufacture addresses the enclosure geometry; steam-system compatibility still requires confirmation for the complete assembly.
The practical advantage is coordination: the door, fixed panels, and finished opening can be planned together. The constraint is equally important. A custom enclosure is not a substitute for a steam-compatible waterproofing assembly or correctly installed generator.
For a 2026 retrofit, treat an existing door's dimensions as reference information, not proof of suitability. Its hinges, seals, adjacent panels, and mounting conditions need assessment together.
Expected result: you have a drawing that identifies the complete steam boundary and demonstrates a usable entrance. An unassigned gap at the ceiling or beside a panel means the layout is not ready for fabrication.
These are layout choices, not interchangeable accessories. Have the installer assess the geometry and hardware before choosing one.
| Enclosure arrangement | Best for | Practical advantage | Limitation |
|---|---|---|---|
| Full-height glass enclosure | An opening suited to a continuous upper closure | Avoids an intentionally open space above the enclosure | Requires coordinated upper support, clearances, and sealing |
| Door with a fixed transom | A layout needing a separate panel above the operating door | Separates the door opening from the upper closure | Adds panel joints and installation details to verify |
| Door with an operable transom | A design that specifically includes an opening upper panel | Provides an opening that can be used after a session | Adds moving hardware and a closure that must be managed during steam use |
| Ordinary open-top shower enclosure | Conventional showering, not steam containment | Leaves the upper opening unobstructed | Provides a direct route for steam to escape |
Choose the arrangement that closes the required boundary without compromising door operation. Do not select an operable transom solely because it appears in another bathroom; its support, seals, and intended use need their own design.
Expected result: the enclosure specification names a treatment for each relevant joint, with compatibility confirmed rather than inferred from appearance.
The Frameless Door Sweep listed by Showerdoor is a polycarbonate bottom seal offered for 1/4-inch, 3/8-inch, and 1/2-inch glass. Those sizes identify glass fit, not steam suitability. Confirm the exact variant and its suitability for your assembly before using it in a 2026 steam-shower project.
A sweep's advantage is its defined role at the bottom of the moving door. Its limitation is scope: it does not close the top of the enclosure, correct a misaligned door, or replace the shower's waterproofing.
Do not seal a moving door edge shut with caulk. Likewise, do not fill every visible opening without checking the installation detail. Some clearances serve door movement or drainage; changing them without approval creates another problem instead of resolving the original one.
Expected result: the installed enclosure matches the approved layout, its supports and seals are complete, and the responsible contractors confirm readiness for testing.
Never cut or drill already-tempered shower glass to accommodate a new hinge, handle, or panel arrangement. Changes requiring different holes or dimensions need professional assessment and appropriately fabricated replacement glass.
For your 2026 handoff, keep the enclosure drawing and equipment instructions together. This gives the installer a common reference when a door clearance, steam-head position, or upper closure needs correction.
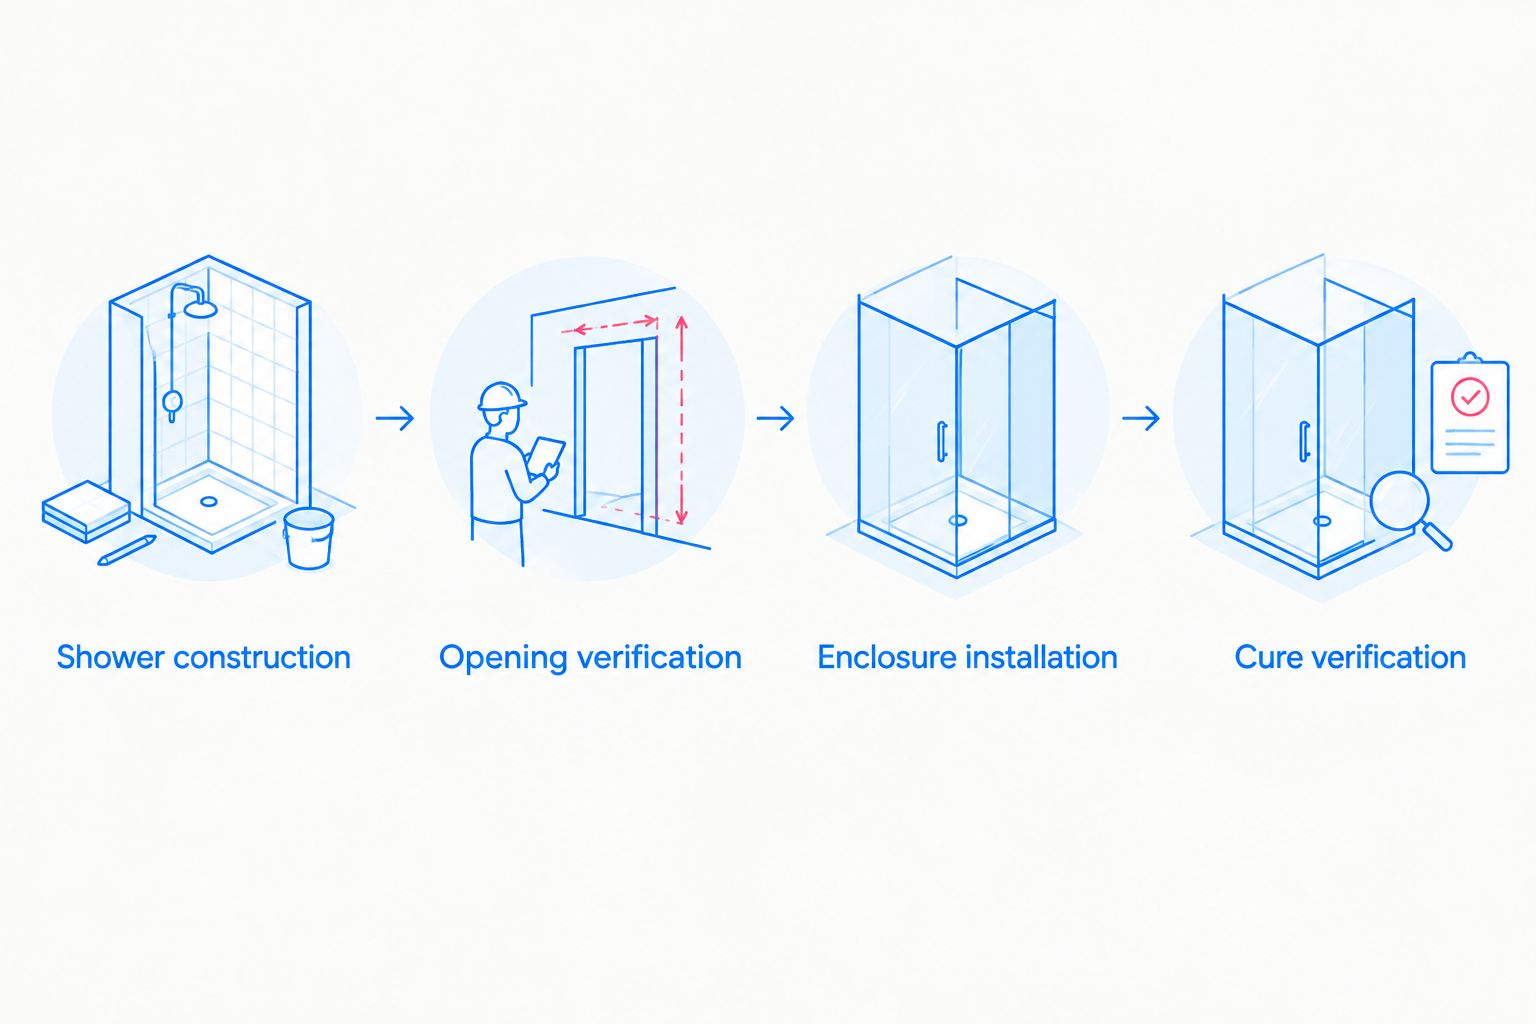
Expected result: the door operates normally, water remains directed into the shower, and the installer has addressed unintended steam escape. Condensation on cooler glass is not, by itself, evidence that the door is defective.
Best for: homeowners retaining an existing shower layout while assessing a steam conversion. Its advantage is starting with a known opening; its limitation is that existing glass and hardware are not automatically reusable.
For a 2026 conversion, begin with the shower construction rather than shopping for replacement seals. Ask the responsible contractor to verify the walls, ceiling, penetrations, waterproofing assembly, and equipment requirements for steam use.
Then have the enclosure installer review the existing door and fixed panels. Identify the upper opening, closing-edge gaps, hardware condition, mounting support, and threshold detail. A larger sweep cannot solve an open ceiling boundary.
If the retained assembly needs incompatible dimensions or new holes in tempered glass, revise the fabrication plan. Keep existing components only when the installer confirms that they fit the approved steam-enclosure design.
Check whether the design includes a complete upper closure. An ordinary open-top layout needs an enclosure redesign, not more sealant at the threshold. Have the installer assess a suitable upper panel or full-height arrangement.
Have the installer verify the seal profile, glass fit, alignment, and threshold clearance. Do not force the door or trim parts blindly; the wrong profile can interfere with normal movement even when it fits the glass edge.
Inspect the escape location during an ordinary shower-water check. Ask the installer to review the sweep position, threshold drainage, and adjoining joints. Do not block a drainage path while trying to close a leak.
Check whether the door reaches its intended closed position and whether the specified seal engages correctly. Correct misalignment before adding a different seal. A replacement profile must match both the glass and the operating geometry.
Condensation is expected when warm, moist air meets cooler glass. Follow the after-use ventilation instructions and remove residual water using a glass-safe method. Persistent bathroom moisture also warrants review of the ventilation arrangement, not just the door seals.
Build a handoff record containing the approved layout, glass specification, hardware details, seal profiles, equipment instructions, and after-use procedure. Include photographs of the completed upper closure and threshold so future maintenance starts with the installed arrangement.
Showerdoor manufactures and installs custom framed and frameless enclosures. Discuss the steam requirement as a project condition, not as an assumed feature of every enclosure or replacement part.
Expand the maintenance plan without changing the installation design. Record which cleaning methods the glass, hardware, seals, and any surface treatment permit; do not assume a cleaner suitable for glass is suitable for every adjoining material.
Can I use a frameless shower door for a steam shower?
Yes, a frameless shower door can form part of a steam enclosure when the complete assembly is designed for that use. Confirm the upper closure, seals, hardware, shower construction, and steam-equipment requirements before ordering.
Does the shower door connect directly to the steam generator?
No, the shower door has no plumbing or electrical connection to the steam generator. Its role is to close the enclosure while allowing safe access and normal door operation.
Can I turn my existing frameless shower into a steam shower?
An existing frameless shower requires a construction and enclosure assessment before conversion. Adding seals alone does not address an open top, unsuitable waterproofing, or incompatible glass and hardware.
Do I need a transom above a steam shower door?
You need a suitable upper closure, but that does not always require a separate transom. The enclosure installer should determine whether full-height glass or a transom fits the opening and support conditions.
Will a bottom door sweep keep all the steam inside?
No, a bottom sweep addresses the lower door edge rather than the entire enclosure. Upper openings, closing-edge gaps, and other junctions require their own specified details.
What glass thickness does the Showerdoor Frameless Door Sweep fit?
The listed Frameless Door Sweep is offered for 1/4-inch, 3/8-inch, and 1/2-inch glass. These fit options do not establish steam-use compatibility; confirm the specific variant and application with the installer.
Should a steam shower door be completely airtight?
Do not improvise an airtight seal around a moving shower door. Follow the enclosure and steam-equipment specifications so containment does not compromise access, door movement, or required drainage.
Find the escape path before buying another seal. A threshold sweep cannot correct an opening above the door, and caulk cannot correct misaligned hardware. Photograph the specific junction during inspection and ask the installer to resolve that detail against the approved enclosure plan.


