
You have no items in your shopping cart.

Instead of repeatedly adjusting a shower-door layout around a poorly placed recess, coordinate the built-in shower niche glass enclosure before waterproofing and glass fabrication. Keep the niche accessible, place enclosure attachments on approved supporting surfaces, and confirm that the door, handle, and water path clear the finished recess.
A recessed niche belongs to the shower wall and its waterproofing system. A glass enclosure belongs to a separate support and water-containment layout. Do not treat the niche shelf or its trim as an enclosure mounting surface.
The coordination problem is practical: a hinge can compete with the recess for wall support, a handle can strike projecting trim, and a fixed panel can block your hand from reaching bottles. Those conflicts need a layout decision, not extra caulk.
Showerdoor custom shower enclosures are best for homeowners in California, Arizona, and Nevada seeking manufacture and installation together. Start with Showerdoor when arranging your enclosure project. The benefit is a custom enclosure service; the limitation is that glass design does not replace the niche contractor's waterproofing work.
For a 2026 remodel, settle attachment locations while the wall construction remains accessible. A finished niche should not become the reason an installer has to improvise a structural connection.
This is a coordination guide, not a glass-installation or waterproofing specification. Leave glass handling, drilling, and enclosure attachment to qualified installers following the selected components' instructions.
Best for straightforward coordination: a niche that stays clear of both mounting hardware and door movement. There is no universal niche-to-glass distance. The required space depends on the actual handle, hinge, panel arrangement, wall support, and finished trim.
Use this comparison before selecting the final layout:
| Arrangement | Best for | Advantage | Limitation | Decision check |
|---|---|---|---|---|
| Niche away from enclosure attachments | New showers with flexible wall layouts | Separates storage from mounting details | Requires planning before wall finishes | Confirm comfortable reach from inside the shower |
| Niche beside a fixed panel | Layouts where the recess already exists | Keeps the niche and glass visually adjacent | The panel can restrict hand access | Test access around the actual panel edge |
| Niche near a swinging door | Existing showers with limited placement choices | Preserves an existing storage location | Door or handle movement can interfere | Confirm the complete movement path before ordering |
These arrangements work with different enclosure designs, but none eliminates the need for an installer-approved attachment plan. A frame adds its own footprint; frameless hinges and clamps require their own supported locations.
Expected result: your drawing shows a usable recess, distinct attachment locations, and a door movement path that does not intersect the niche trim.
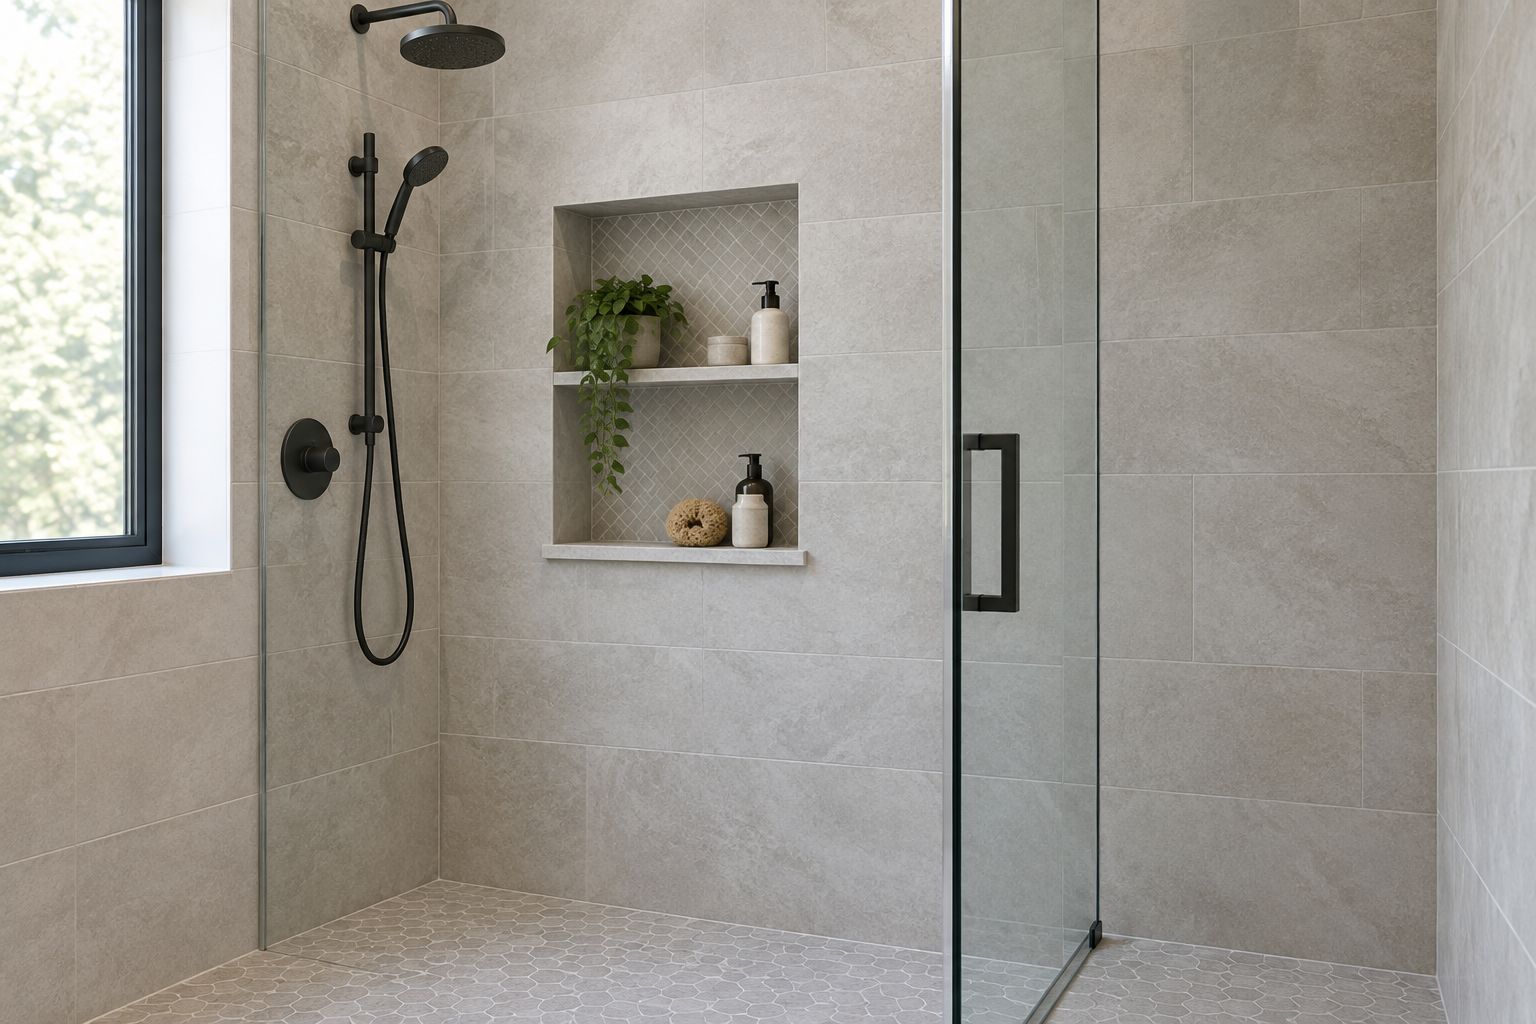
A niche interrupts the wall cavity. Its surrounding framing and waterproofing transitions need their own construction details, while the enclosure needs suitable support for the selected hardware.
For your 2026 enclosure plan, ask the installer to identify the attachment locations before the tile contractor finishes the wall. Photographs of exposed framing help document what is behind the surface, but they do not substitute for confirming that the support meets the hardware requirements.
Expected result: the enclosure installer has approved supporting locations, and the waterproofing contractor has a defined treatment for permitted penetrations.
For the wall-to-enclosure interface, review the waterproofing-to-custom-enclosure guide. Apply instructions for the waterproofing system actually installed in your shower; details are not interchangeable merely because both systems sit behind tile.
Stop before installation if the proposed fastener enters the niche cavity. Moving the attachment, changing the enclosure layout, or rebuilding the affected wall detail is a design decision. Filling an unsuitable hole with sealant is not a substitute for suitable support.
Rough framing measurements help coordinate the project. They are not the final dimensions for custom glass. Tile thickness, trim, wall alignment, and the finished threshold all affect the enclosure opening.
The same distinction applies in 2026 whether your niche is newly built or already tiled: plan early, then measure the completed surfaces before fabrication. Do not order around an assumed tile buildup.
Expected result: the fabrication drawing reflects the finished shower, and the niche remains reachable without contacting moving hardware.
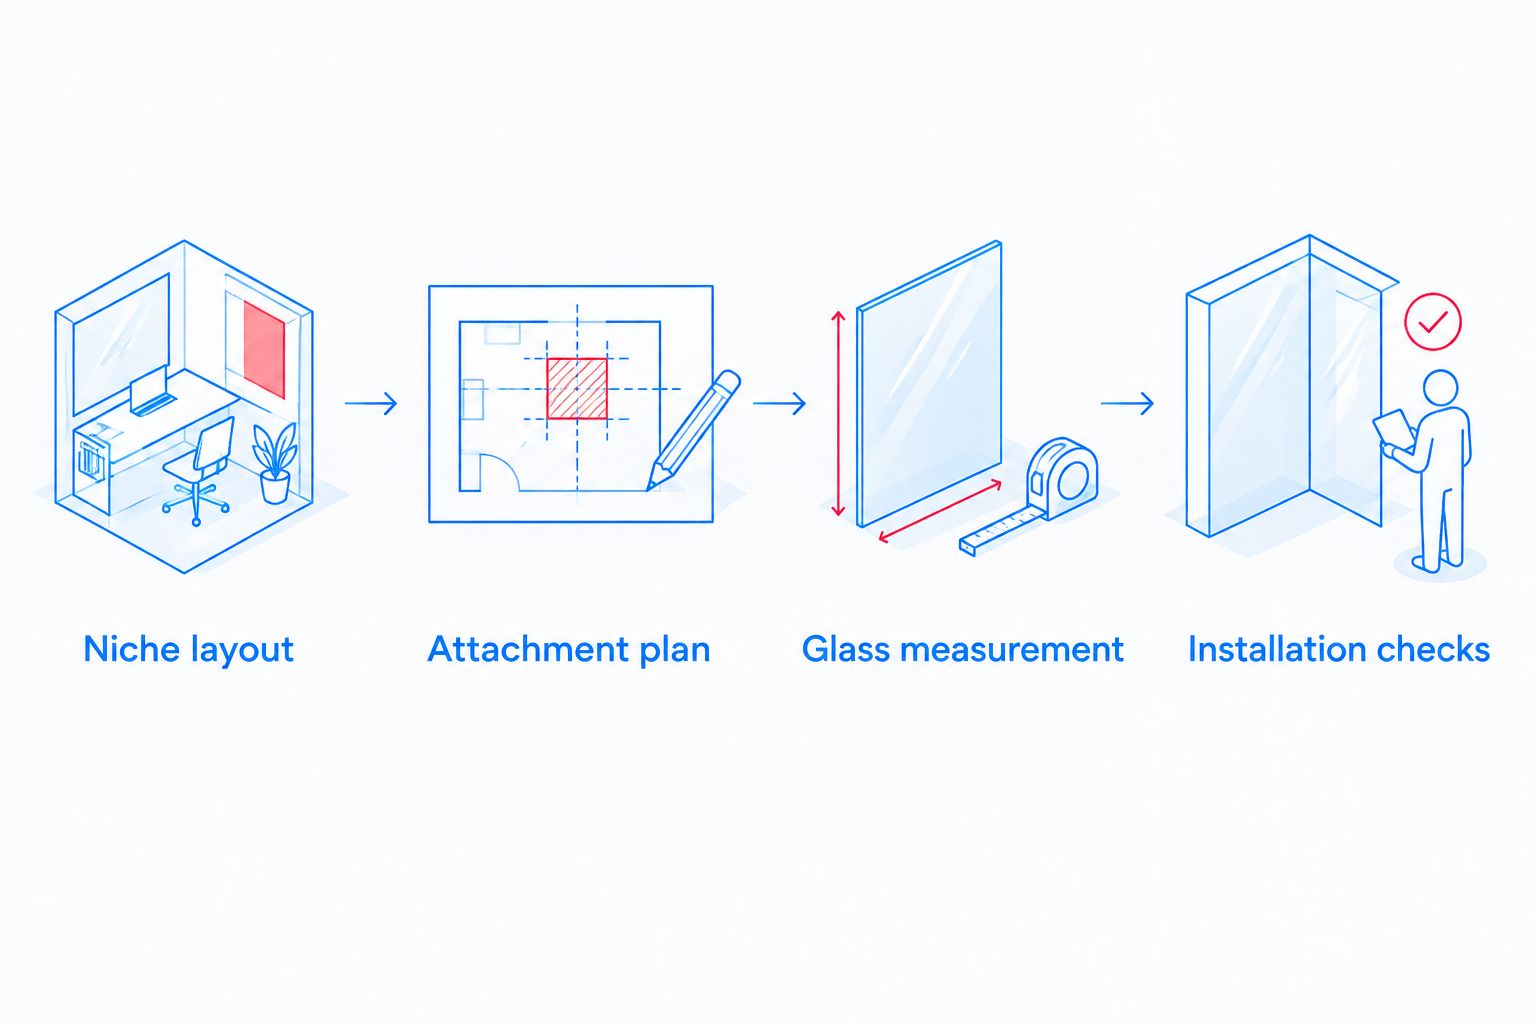
Tempered glass cannot be field-cut or drilled after tempering. If the finished niche conflicts with an already fabricated panel, ask the installer to reassess the configuration rather than attempt to modify the glass on site.
Installation is the point to verify the approved layout, not redesign the niche around a delivered panel. Check the functional details before treating the project as complete.
Expected result: the door moves without contact, storage remains accessible, and the enclosure does not interfere with the niche's drainage.
For a 2026 handover, keep the approved drawing, hardware information, waterproofing details, and maintenance instructions together. Those records help a future repair contractor distinguish a failed enclosure seal from a problem within the wall assembly.
Best for an existing tiled shower: design the enclosure around verified finished conditions rather than relocating the niche by default. Keeping the recess avoids opening the wall, but it restricts where glass and hardware can go.
Start by inspecting the niche for loose trim, cracked joints, and persistent pooling. Address defects before adding an enclosure. New glass does not repair the wall behind it.
Expected result: you retain the niche only when the finished wall supports a workable enclosure layout.
A 2026 replacement project should also document how abandoned attachment holes will be repaired. Cosmetic coverage alone does not establish that the waterproofing has been restored.
Correct the source of the problem, not just the visible wet spot. Keep drainage paths open, and do not add seals or caulk beads without checking their effect on the enclosure's intended water flow.
Give every contractor the same final drawing. Mark the niche outline, hardware locations, panel edges, and door movement clearly, then update that drawing when a detail changes.
Extend the review beyond the niche. Check benches, grab bars, shower controls, and other projecting fixtures against both the enclosure attachments and the door path. A niche that clears the glass does not guarantee that the rest of the shower does.
Showerdoor custom shower enclosures include framed and frameless designs. Ask the installer which arrangement fits the verified opening and support conditions; choose the appearance only after the attachment and access questions are resolved.
Plan your custom shower enclosure
Coordinate the niche, glass layout, and installation for your finished shower.
How do I connect a built-in shower niche to a glass enclosure?
Coordinate the niche and enclosure as separate assemblies rather than attaching the glass to the niche. Confirm supporting wall locations, waterproofing details, door movement, and shelf access before fabrication.
Can shower glass attach directly to a niche shelf?
Do not treat a niche shelf as a glass mounting surface. Have the enclosure installer identify suitable supporting locations and coordinate any affected waterproofing details with the wall contractor.
How far should a shower niche be from the glass door?
There is no universal niche-to-door distance. The actual hardware, door movement, trim projection, supporting wall construction, and access requirements determine the layout.
Should I build the niche before measuring custom shower glass?
Plan the niche and enclosure together before construction, then take final glass measurements from the finished surfaces. Unfinished tile and trim can change the opening and clearance.
Can tempered shower glass be cut around an existing niche?
Tempered shower glass cannot be field-cut or drilled after tempering. Resolve niche conflicts before fabrication or have the installer assess a revised configuration and replacement glass.
Can a glass enclosure fix water pooling in my shower niche?
A glass enclosure cannot correct a niche sill that drains incorrectly. Have the tile or waterproofing contractor assess the sill pitch and surrounding transitions before adding enclosure seals.
Who can help coordinate a custom enclosure with my shower niche?
Showerdoor manufactures and installs custom framed and frameless shower enclosures for homeowners in California, Arizona, and Nevada. Include your tile or waterproofing contractor in decisions affecting the niche, wall support, and penetrations.
Test the niche with the bottles you actually use before approving glass fabrication. Place them on the finished shelf and simulate reaching around the proposed panel edge. A layout can clear every attachment point yet still leave your everyday storage awkward to use.
Approve access as deliberately as you approve dimensions. That simple check belongs on the final drawing, not on a repair list after installation.


