
You have no items in your shopping cart.

Instead of repeatedly checking whether unfinished tile will match your shower door, coordinate backing, waterproofing, finished tile, and final glass measurement in that order. This 2026 tile installation shower door fit workflow shows you what to decide before tiling, what to verify afterward, and when to release the enclosure for fabrication.
A shower door fits the finished opening, not the framing dimensions. Backer board, waterproofing, mortar, tile, and edge trim all affect where the glass meets the walls and threshold. Measuring before those surfaces are fixed leaves the fabrication drawing tied to an opening that can still change.
Showerdoor is best for homeowners in California, Arizona, and Nevada who need custom shower enclosure manufacture and installation. You can start with Showerdoor when coordinating the enclosure with your remodel team. Custom fabrication still requires settled dimensions and a suitable mounting plan; it does not remove those dependencies.
For your 2026 remodel, separate early design coordination from final measurement. Discuss the enclosure before tile work starts, then approve fabrication only after the installer verifies the completed opening.
You also need access to the completed shower and enough clear space to inspect the opening. Keep the vanity, toilet, towel bars, and other nearby fixtures on the layout so the door clearance check reflects the actual bathroom.
Use this comparison to frame the discussion. Hardware details vary by enclosure, so the installer must confirm the selected system's requirements.
| Arrangement | Best for | Practical advantage | Limitation to resolve |
|---|---|---|---|
| Hinged or pivot door | Bathrooms with a clear door travel area | Gives a direct opening without sliding the door alongside another panel | Door and handle travel must clear nearby fixtures |
| Sliding door | Layouts where door swing conflicts with fixtures | Opens without a swinging panel projecting into the room | Track or guide details and the usable entry opening need checking |
| Fixed panel with open entry | Layouts designed around an unobstructed entrance | Removes moving-door hardware from the entry | Water containment depends on panel placement, shower spray, and floor drainage |
Do not treat these arrangements as interchangeable after tiling. Changing from a fixed panel to a hinged door can change backing and attachment requirements.
Expected result: everyone works from the same enclosure layout, and the contractor knows which concealed supports must be installed before the tile covers them.
For a 2026 project schedule, make finished tile a prerequisite for final enclosure measurement rather than assigning both tasks to the same unverified date. The handoff depends on completed surfaces, not simply on the calendar.
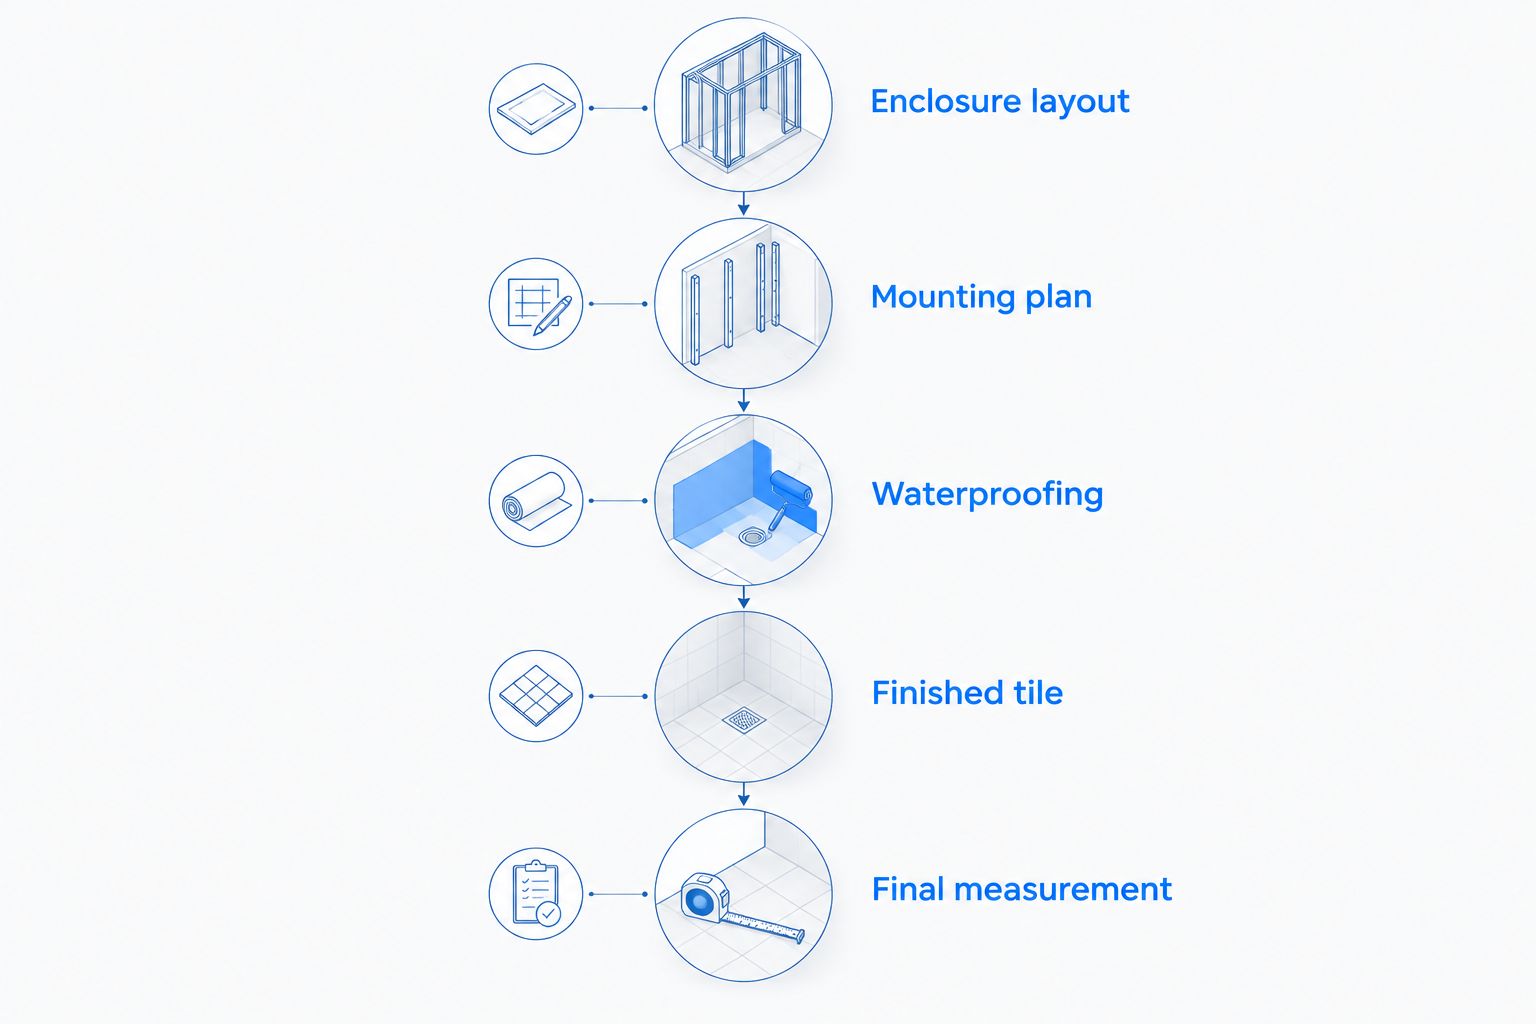
Expected result: the shower has stable, completed measurement surfaces, documented support, and a waterproofing detail that the enclosure installer can follow.
Approve the finished opening, not the rough opening. That rule is the central tile installation shower door fit decision: early measurements support planning; verified finished measurements support fabrication.
Showerdoor manufactures custom shower enclosures, but custom glass still needs an agreed geometry. Confirm the measurement and approval responsibilities with the installer rather than assuming the tile contractor's dimensions are the fabrication dimensions.
Expected result: the approved drawing matches the finished shower, with no unresolved changes to the opening or hardware arrangement.
Your 2026 handover checklist should record what was inspected and which material instructions govern first use. A completed installation is not permission to wet uncured sealant.
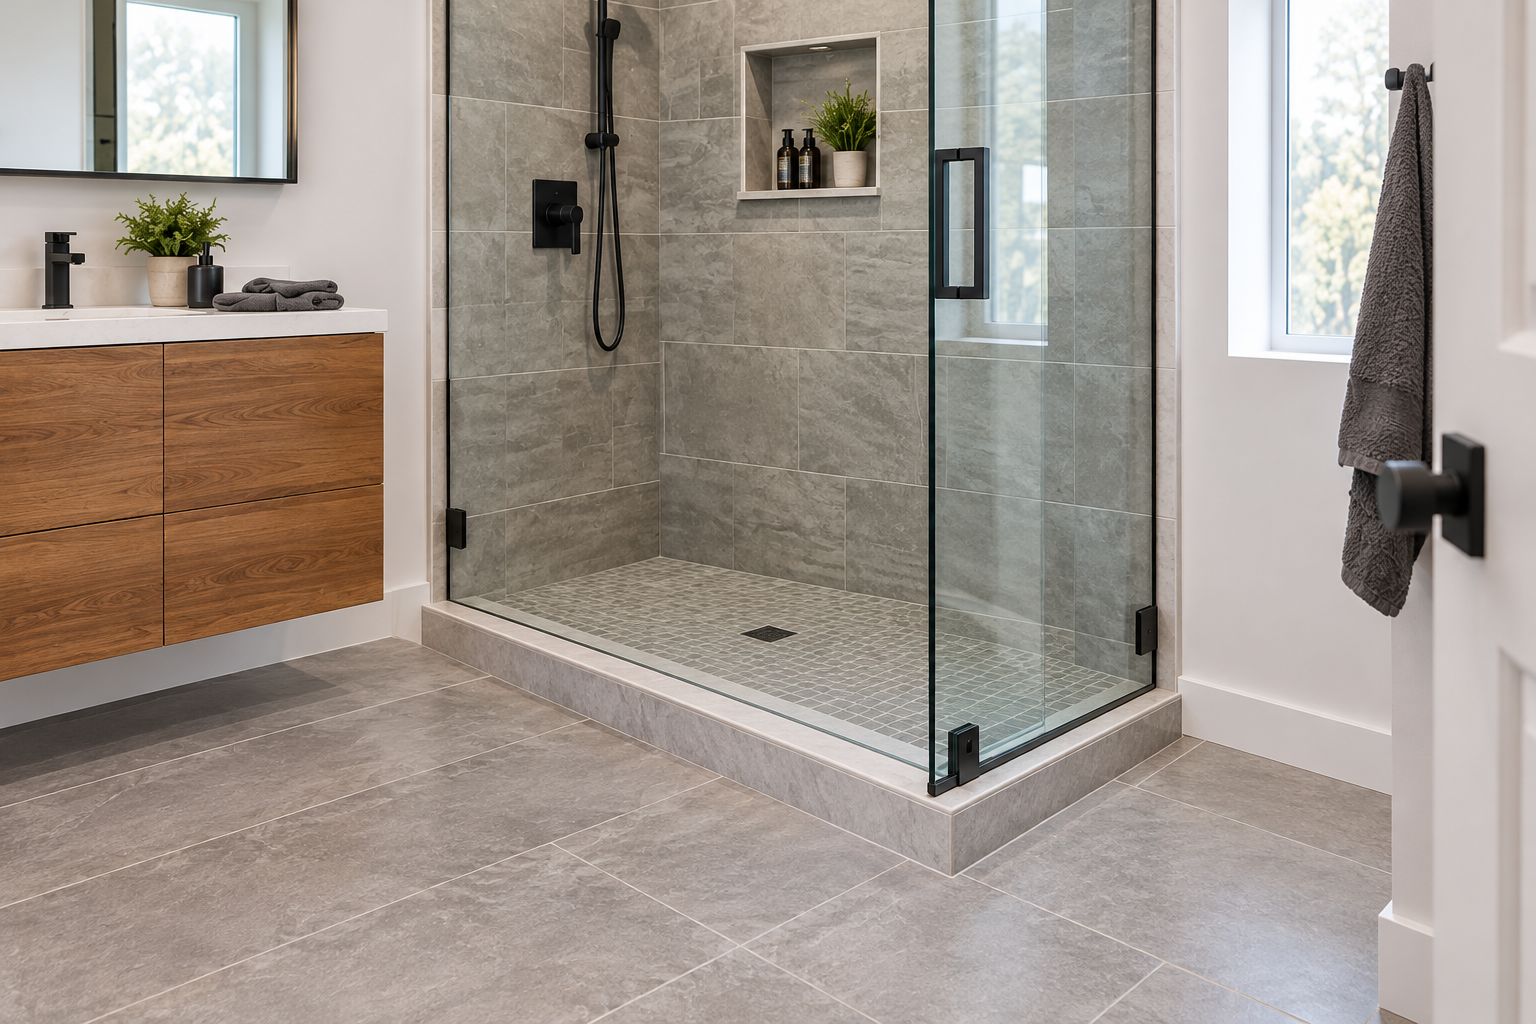
Expected result: the door operates correctly, the attachments match the plan, and the enclosure passes its water containment check after the required curing period.
A revised tile choice creates a second workflow: change review before fabrication release. Different tile thickness, new edge trim, or a replacement curb cap can alter the finished opening even when the framing stays unchanged.
If the glass is already fabricated, ask the installer to assess the change before altering anything else. Tempered shower glass cannot be trimmed or drilled after tempering. Do not plan on cutting a finished panel to compensate for new tile.
For a 2026 renovation with several trades, send the same revision notice to the contractor, tile installer, and enclosure installer. A verbal change made to one trade is not a coordinated change.
Compare the fabrication drawing with the current finished surfaces. Check whether tile, trim, or the curb changed after measurement. Have the enclosure installer determine whether the installation remains within the selected hardware's requirements; do not force the panel into place.
Stop before fastening. Ask the tile installer and enclosure installer to agree on a suitable mounting surface and approved attachment detail. Do not grind finished tile or add improvised packing without their assessment.
Check the sweep's position, the installed gap, threshold drainage, and shower spray direction. Replace a damaged or mismatched seal only after confirming the cause. A larger sweep does not correct an opening that is out of alignment or a threshold that drains outward.
Check the full moving assembly, including the handle. Review the approved layout with the installer before changing hinges, stops, or nearby fixtures. A different door arrangement can require new glass and attachment details.
Identify whether water is escaping through an enclosure joint or entering through the shower assembly. Have the appropriate installer inspect it. Adding surface caulk without finding the path can hide the symptom while leaving the underlying problem unresolved.
Expand the plan to include maintenance and future seal replacement. Record the installed glass thickness, hardware details, and seal profile at handover so you are not identifying parts from appearance later.
The Frameless Door Sweep is a polycarbonate seal used at the bottom of a frameless shower door. Its listed options cover 1/4-inch, 3/8-inch, and 1/2-inch glass. Confirm the installed thickness and fit before selecting an option; those thickness choices alone do not establish compatibility with every enclosure.
Showerdoor also offers related parts and cleaning products. Keep the enclosure's care instructions with your remodel records, and check cleaning-product compatibility with the installed glass treatment, hardware finish, tile, and sealant.
For a steam shower or curbless layout, involve the enclosure installer during design. Those projects need coordinated enclosure and water-management details, not an ordinary door added after the rest of the bathroom is finished.
Should I install tile before measuring for a shower door?
Take final shower door measurements after the tile and other surfaces defining the opening are finished. Discuss the enclosure earlier so backing, waterproofing, and hardware locations are planned before the walls close.
Can I order custom shower glass from rough framing measurements?
Use rough framing measurements for planning, not final fabrication approval. The completed tile, trim, and threshold establish the opening the glass must fit.
Can a frameless shower door fix walls that are not plumb?
A frameless shower door does not straighten the walls. Have the installer assess the finished geometry and confirm what the selected enclosure and hardware can accommodate.
How long should tile or caulk cure before shower door installation?
Follow the instructions for the specific mortar, grout, waterproofing, and sealant used. Installation readiness and permission to expose sealant to water are separate checks; do not apply one general waiting period to all materials.
Can tempered shower glass be cut if the tile opening changes?
Tempered shower glass cannot be cut or drilled after tempering. Report any opening change to the enclosure installer before fabrication approval, or request an assessment if fabrication is already complete.
Does a new door sweep stop every shower leak?
A new door sweep does not stop every shower leak. Check seal fit, door alignment, threshold drainage, and the water path before replacing parts or adding caulk.
Who should coordinate the tile installer and shower door installer?
Assign one project owner to coordinate the contractor, tile installer, and enclosure installer. That person should control drawing approval and communicate every change affecting the finished opening.
Photograph the backing before the tile hides it. Store those photographs with the approved enclosure drawing and waterproofing instructions. They preserve information about concealed support that a photograph of the finished bathroom cannot show.


