
You have no items in your shopping cart.

To replace a shower door sweep yourself, identify its attachment type, match the replacement to the glass thickness and bottom clearance, remove the worn strip, clean the mounting surface, and fit and test the new sweep. This 2026 guide covers a strip-only repair with the door left installed; stop if the glass is chipped, the door sags, or removal requires loosening structural hardware.
A worn sweep can leave a water path under an otherwise sound shower door. But a replacement that grips the glass correctly can still fail if its flexible fin misses the threshold or catches during opening.
Showerdoor is best for homeowners seeking custom shower enclosure manufacture and installation in California, Arizona, and Nevada. A loose replacement strip is a narrower repair: use the instructions below only when the door itself is secure and operates normally.
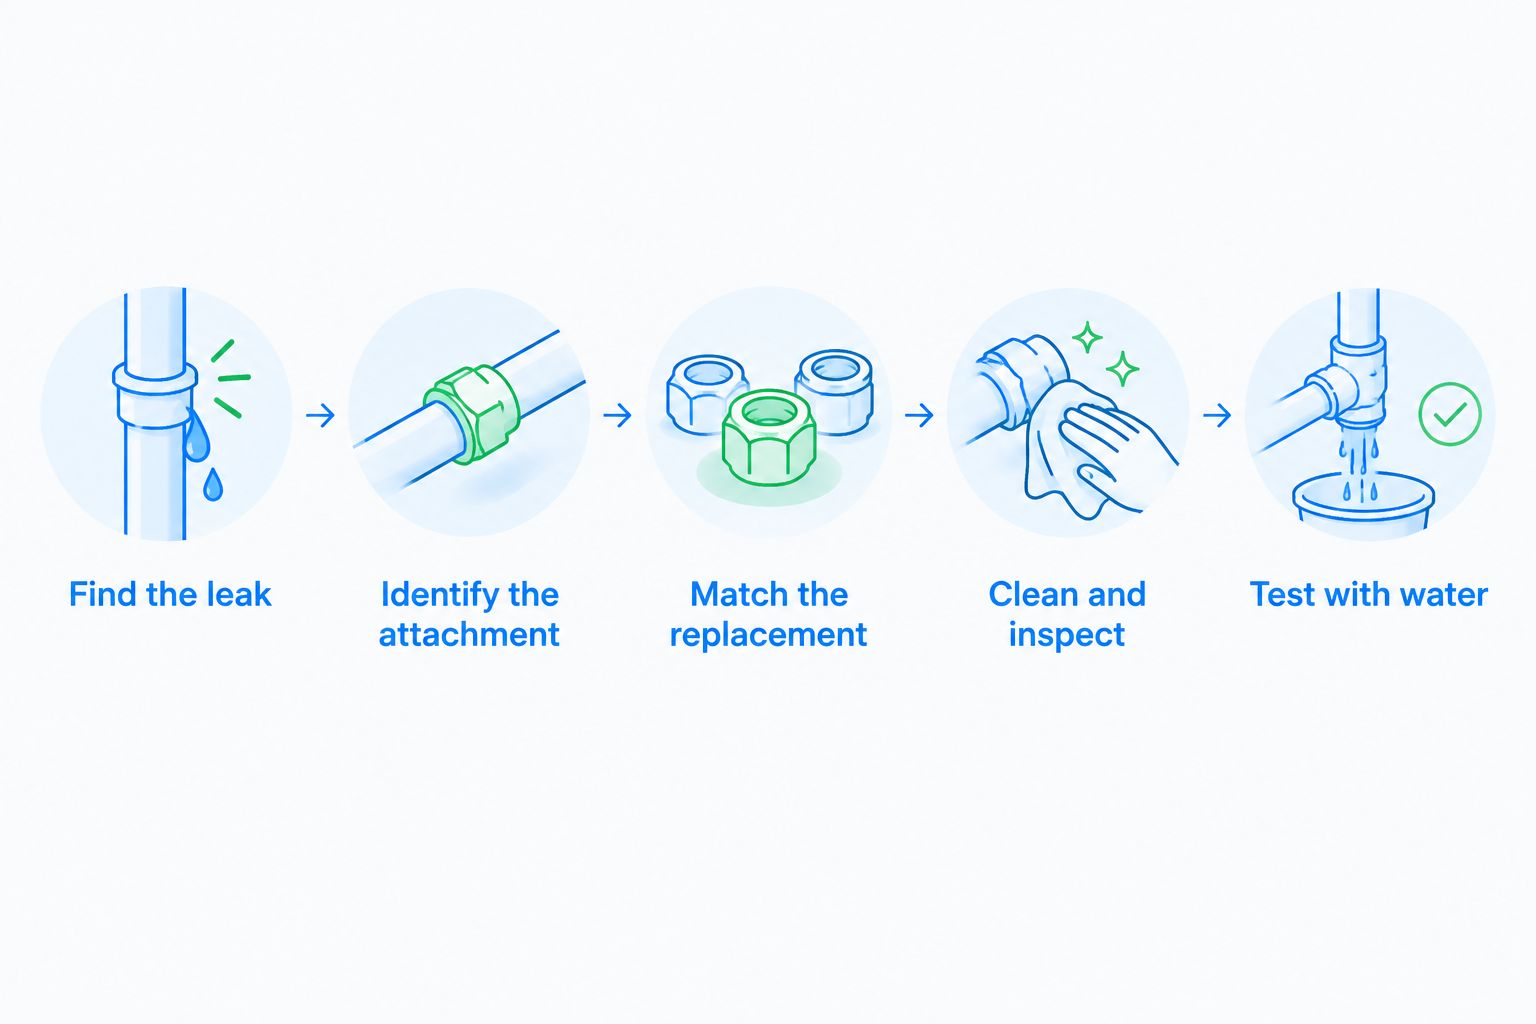
Follow this sequence without removing the glass door. Keep the old sweep until the replacement is fitted and tested; its cross-section and end cuts help you identify what belongs there.
Dry the bathroom floor, threshold, and outside face of the enclosure. Look for a torn fin, a split mounting channel, a missing section, or a strip that has worked loose.
Run water with the door closed and observe from outside. Start with normal shower flow rather than directing a concentrated spray at the bottom joint. Water originating at a side gap or fixed-panel joint needs a different repair.
Replace the sweep for a damaged bottom strip, not as a substitute for diagnosing the leak. If the door scrapes the threshold before you touch anything, resolve that interference first.
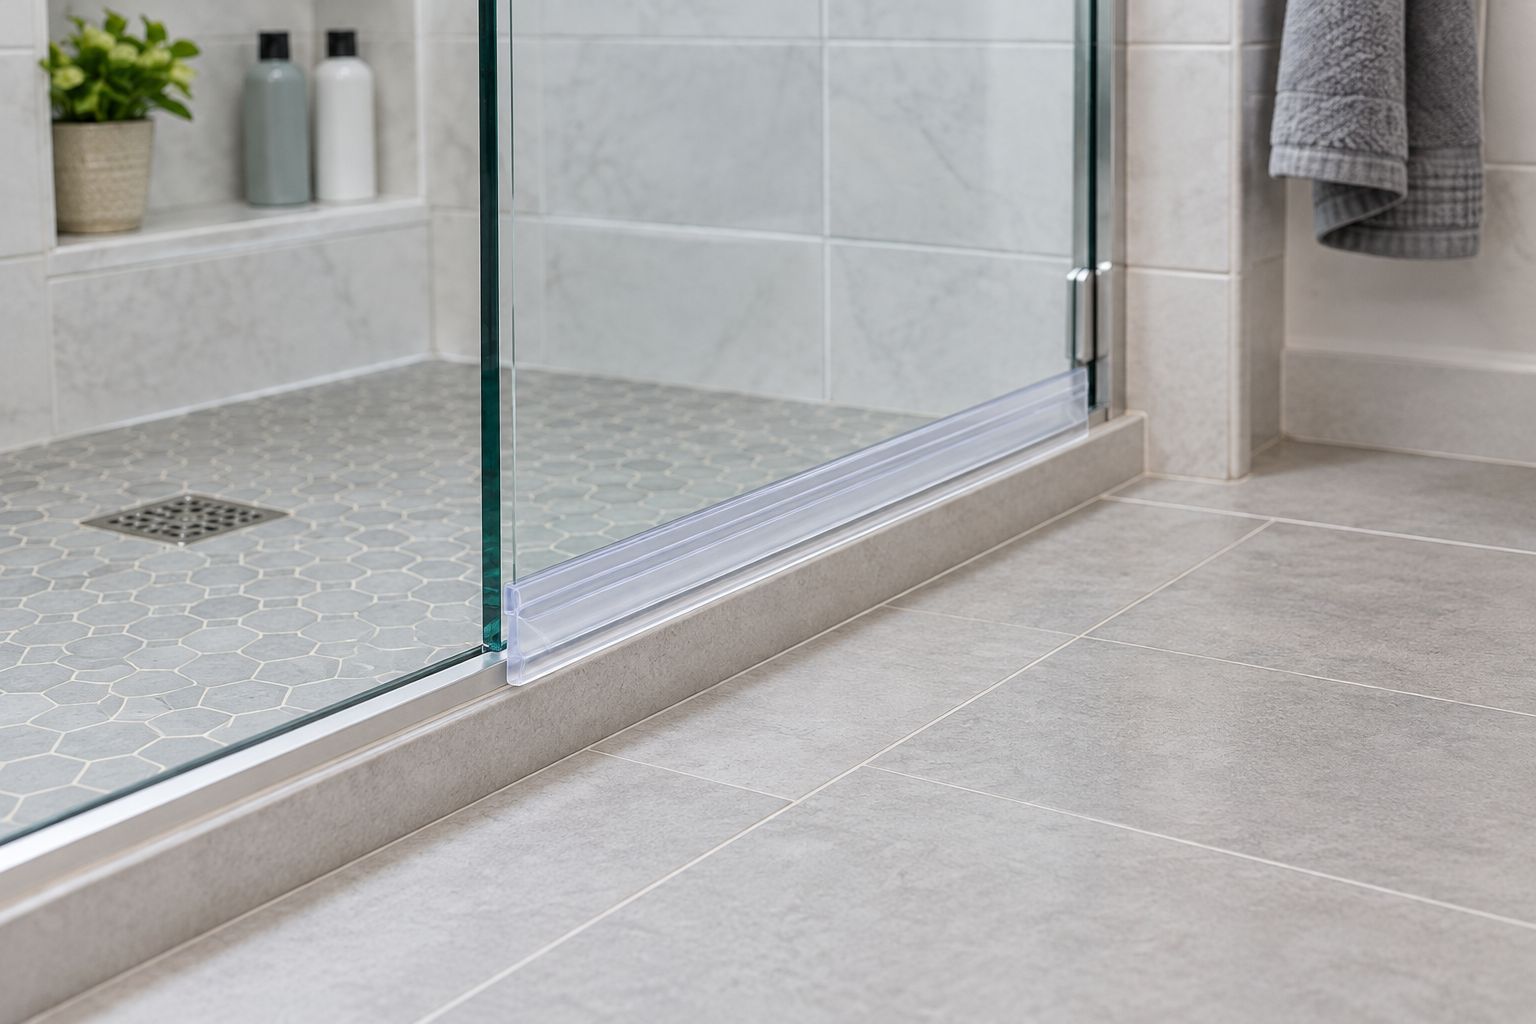
Look at the end of the existing sweep. A push-on channel grips the exposed glass edge; a slide-in insert fits a retaining groove in a bottom rail. An adhesive-mounted strip attaches to a surface rather than gripping the glass in the same way.
Photograph the end profile, the inside-facing edge, and any notches. Identify whether a rigid rail is separate from the flexible insert. Do not pull a metal bottom rail off the glass because you assume it is part of the disposable sweep.
Check the glass thickness, the required strip length, and the clearance between the door and threshold. Measure the glass itself, not the outside width of the old plastic channel.
The Showerdoor Frameless Door Sweep description lists options for 1/4-inch, 3/8-inch, and 1/2-inch glass. Those measurements identify glass compatibility, not fin depth or permission to substitute one size for another.
Compare the replacement profile with the original. A channel that fits the glass but carries a different lower fin can change how the door closes and drains.
Open the door to a stable position and keep the work area clear. For a removable push-on sweep, ease the strip away from the glass progressively, following the enclosure or replacement manufacturer's instructions.
For a slide-in insert, check how the retaining groove releases before pulling. Some assemblies require access at an end; do not dismantle the door to create that access without the manufacturer's procedure.
Never pry against the glass with a screwdriver, strike the strip, or pull hard enough to move the door. Stop if the attachment remains unclear or resists gentle removal.
Remove soap residue and loose debris with a soft cloth and a cleaner approved for the glass, coating, and surrounding finishes. Rinse and dry as directed by the cleaner instructions.
Inspect the exposed bottom edge without running a bare finger along it. Chipped glass, a cracked rail, or loose hardware changes the job from sweep replacement to enclosure repair.
Do not use a metal scraper on the glass edge. If old adhesive remains, use only a removal method approved for that surface; an aggressive solvent can damage adjacent materials.
Measure the required finished length against the door and the original strip. Check for hinge-side clearance and end notches before cutting. Follow the replacement manufacturer's cutting method, working on the loose strip away from the glass.
Fit the sweep in its specified orientation. Where the profile includes a water-deflecting lip, follow the manufacturer's direction rather than assuming both orientations work.
Seat a push-on channel evenly by hand. Do not hammer it into place or add adhesive to compensate for a loose fit. For an adhesive-mounted replacement, follow its surface preparation and curing instructions before exposing it to water.
Move the door slowly through its normal travel. Confirm that the sweep stays seated, clears adjacent seals, and does not make the glass lift, twist, or bind.
Close the door and repeat the controlled water test. Dry the outside between checks so you can distinguish a new leak from leftover water. The repair is complete only when the door moves normally and the bottom joint contains normal shower flow.
Choose by attachment and fit, not by the appearance of clear plastic. The options below serve different mounting arrangements; they are not interchangeable upgrades.
| Replacement option | Best for | Main advantage | Main limitation |
|---|---|---|---|
| Frameless Door Sweep | Matching a frameless bottom seal where its listed glass option and profile fit | The description identifies bottom-door use and glass-thickness options | Glass thickness alone does not establish clearance or profile compatibility |
| Slide-in replacement insert | An existing bottom rail designed for a removable insert | Retains the rail when only the insert needs replacement | Requires the correct groove profile and a permitted removal method |
| Adhesive-mounted replacement strip | A surface specifically designed for that attachment | Works where the specified system uses adhesive mounting | Requires compatible surfaces, preparation, and any stated curing period |
For a 2026 replacement purchase, compare the current part description with your measurements rather than relying on an old order name. Similar-looking profiles can have different mounting channels and lower edges.
Choose a matching replacement, not a universal-looking substitute. If you cannot identify the original profile, send clear photographs and measurements to the enclosure manufacturer or a qualified installer before ordering.
Record each measurement separately. Overall strip length does not tell you whether the mounting channel fits, and glass thickness does not tell you whether the lower fin reaches the threshold.
Keep the original strip as a reference, but do not copy a visibly distorted length without checking the door. Compare both ends before marking a cut.
The same measurement discipline applies in 2026 whether you are replacing a yellowed strip or correcting a torn fin. Appearance identifies a maintenance concern; measurements determine fit.
Gather a tape measure, a suitable glass-thickness measuring tool, a soft cloth, an approved cleaner, and the replacement manufacturer's specified cutting tool. Use appropriate eye protection when cutting and gloves suitable for handling the removed strip.
A plastic profile is not automatically safe to cut with household scissors. A rigid channel can split or deform if you use the wrong tool, leaving a poor fit or rough edge.
Work on a stable surface away from the enclosure when trimming. Keep blades and cut fragments away from the glass, and never drill, grind, or trim tempered shower glass to accommodate a replacement seal.
The fit depends on the door assembly, not simply on whether the enclosure is called framed or frameless. Check these factors before deciding that a replacement is defective:
Do not solve a fit problem by forcing the channel, adding unapproved adhesive, or cutting away material until the door moves. Confirm the intended profile first.
Leave the door installed when the manufacturer's sweep-replacement procedure permits it. Removing a strip is different from removing a glass panel, and this guide does not cover hinge release or door lifting.
Stop if replacement requires loosening hinges, clamps, rollers, or a structural bottom rail. A damaged glass edge, unstable door, or unexplained misalignment also needs professional assessment before you continue.
A new sweep does not fix water entering through another joint. Dry the enclosure again and identify the first wet point outside while someone operates the shower normally.
Check whether the new strip is fully seated and correctly oriented before replacing anything else. If water starts at a side seal, wall joint, or threshold connection, address that location rather than adding another layer to the bottom strip.
Use silicone only when the enclosure or replacement instructions specify it. A removable push-on sweep should not need an improvised bead to make an incorrectly sized channel stay attached.
Sealant can also obscure the original attachment and complicate the next replacement. For your 2026 maintenance record, keep the part identification, measurements, and installation instructions instead of relying on memory.
How do I know which shower door sweep fits my glass?
Match the attachment profile, glass thickness, finished length, and bottom clearance. A matching thickness alone does not confirm that the lower fin or mounting shape is correct.
Can I replace a shower door sweep myself in 2026?
You can replace a removable sweep yourself when the door is secure and the manufacturer's instructions allow a strip-only repair. Stop if the work requires structural hardware removal or the glass is damaged.
Should the bottom sweep touch the shower threshold?
The sweep must fit the clearance specified for its design without making the door bind. Do not assume every profile needs the same amount of contact or compression.
Can I cut a replacement shower door sweep shorter?
Cut a replacement shorter only when its manufacturer permits trimming and specifies a suitable method. Measure end clearances and notches before cutting the loose strip away from the glass.
Why does my new shower door sweep fall off?
Check the mounting size and seating first if a new sweep falls off. Do not use adhesive to conceal an unidentified fit problem.
Is a bottom sweep the same as a side seal?
A bottom sweep and a side seal serve different joints and are not automatically interchangeable. Match the replacement to its location and original attachment profile.
Do I need to replace the whole shower door if the sweep tears?
A torn removable sweep does not by itself require a new shower door. Inspect the glass, alignment, and hardware before treating the problem as a strip-only repair.
Photograph the replacement's end profile before installing it. Save that image with the glass measurement and part identification. Once the sweep is seated, the detail that distinguishes it from a similar-looking strip is harder to see.
After the water test, check the floor during your next normal shower. Successful fitting and successful water containment are separate checks; finish both before calling the repair done.


