
You have no items in your shopping cart.

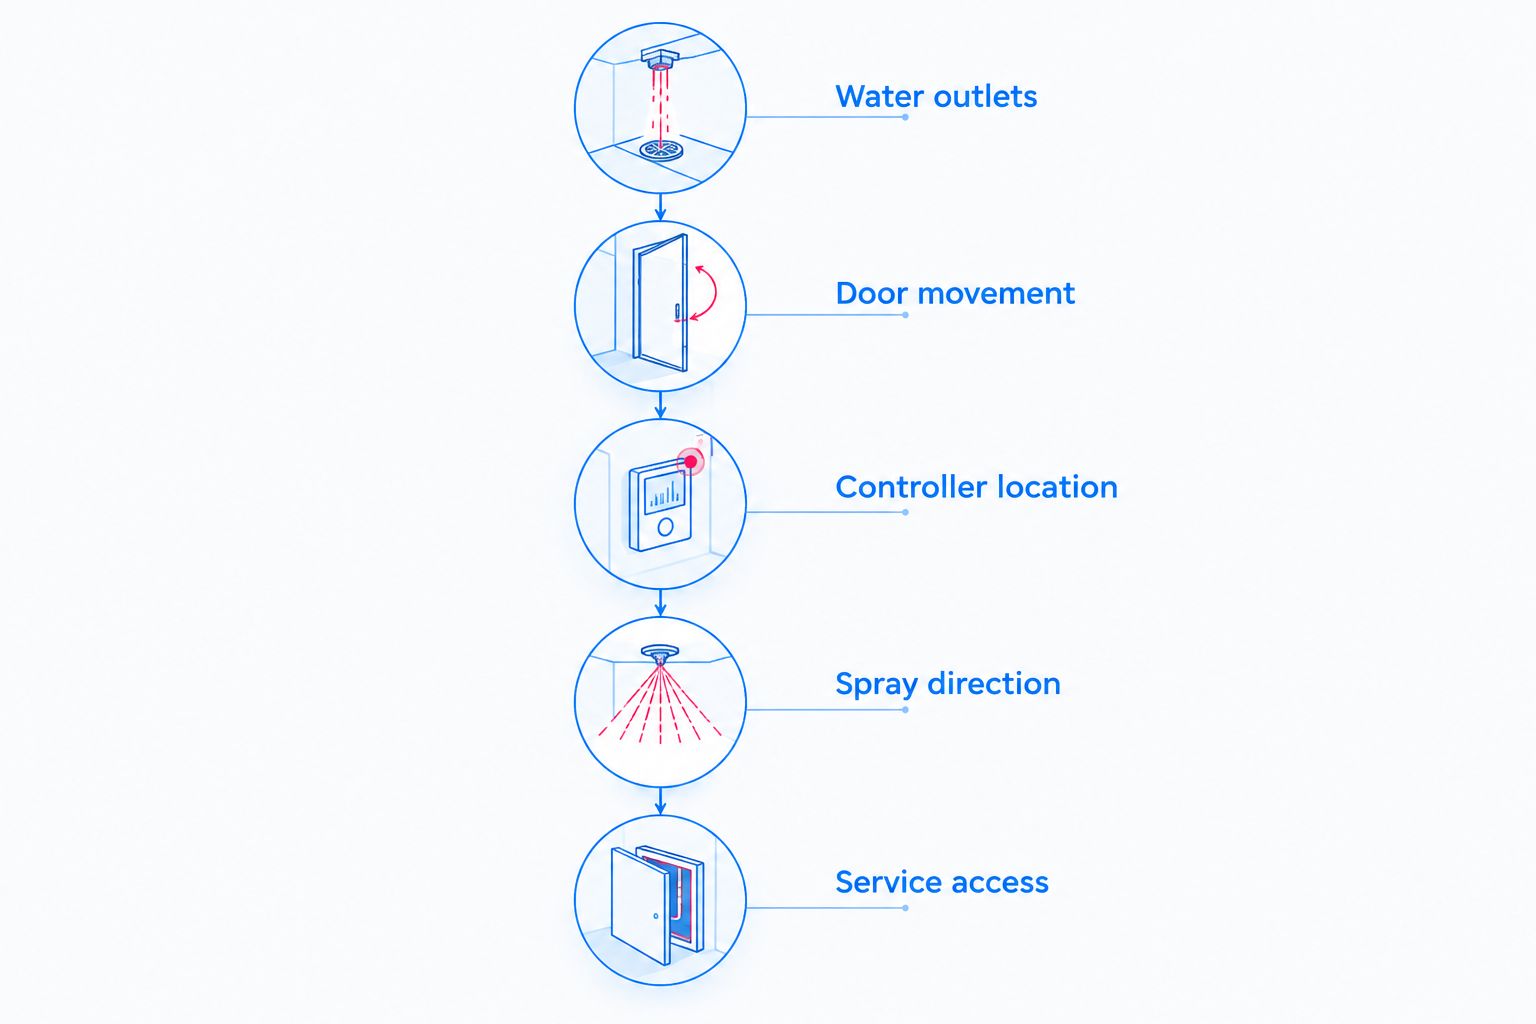
Instead of separately planning shower controls and glass, coordinate the digital valve, controller, spray outlets, and door layout before fabrication so each works without obstructing the others. A digital shower valve frameless enclosure installation connects plumbing and electrical controls to the shower system—not to the glass itself.
A digital valve controls water delivery. A frameless enclosure contains spray while providing access to the shower. Neither component fixes a poor layout in the other: a controller behind an open door remains awkward, and a spray outlet aimed toward a door gap remains a containment problem.
Showerdoor is best for homeowners in California, Arizona, and Nevada seeking custom frameless shower enclosure manufacture and installation. Start your enclosure planning with Showerdoor, while your plumbing contractor confirms the selected valve's requirements.
For a 2026 remodel, establish responsibility before construction starts. The plumber handles the valve and water connections, the electrician handles required electrical work, and the enclosure installer handles glass measurements, hardware, and installation. Coordinate their drawings rather than asking the glass installer to resolve an unfinished plumbing decision.
Digital shower systems differ in controller connections and setup procedures. Follow the actual manual and on-screen wording rather than applying another model's buttons or settings. Leave plumbing, electrical connections, and concealed waterproofing work to qualified trades.
Expected result: You have an agreed layout showing the valve, controller, outlets, door movement, and service access. Every trade can identify its work without guessing where another component belongs.
For a 2026 project, save this approved layout with the installation manuals. A later fixture change needs a layout review, not just a different item on the order.
Expected result: The valve installation passes the required checks, serviceable components remain accessible, and penetrations have defined waterproofing details. Wall closure does not hide an unresolved connection or leak.
Keep the responsibilities separate. Showerdoor's stated service is custom shower enclosure manufacture and installation; arrange digital-valve plumbing and electrical work with the appropriate contractors.
Expected result: The controller operates the intended outlets, safety settings are checked, and the glass approval reflects the finished shower rather than preliminary construction dimensions.
For 2026 installations, approve the enclosure only after the controller location and finished surfaces are settled. A drawing change is easier to address before custom glass is fabricated.
Expected result: The shower controls work, the door moves without obstruction, and normal shower use does not reveal unresolved water escape. You also know how to obtain service without dismantling unrelated components.
During your 2026 handover, demonstrate the shower from outside and inside the enclosure. A control that works electrically still needs to work practically for the person using it.
You can coordinate a digital valve upgrade with existing glass, but first confirm that the retained enclosure supports the proposed controller and outlet layout. Keeping glass is a layout decision, not proof of valve compatibility.
| Workflow | Best for | Advantage | Limitation |
|---|---|---|---|
| New valve and new enclosure | A remodel changing the shower layout | Coordinates controls, outlets, and door movement before fabrication | Requires coordination across plumbing, electrical, waterproofing, and glass work |
| New valve with existing enclosure | An upgrade retaining a suitable enclosure | Keeps an enclosure that already fits the finished opening | Existing glass and hardware constrain controller placement and access |
For the retained-glass workflow:
Expected result: You retain the enclosure only when its condition and geometry support the upgrade. Otherwise, revise the enclosure plan before completing the valve work.
Have the plumber compare the physical outlet connections with the valve diagram and controller configuration. Correct the connection or mapping according to the manufacturer's instructions. Replacing glass or adding a seal will not solve this problem.
Review the approved door path and controller position with both installers. Resolve the conflict through an approved controller relocation or revised enclosure design. Do not move hardware arbitrarily or attempt to modify tempered glass on site.
Check spray direction, door alignment, the bottom seal, and the threshold detail before choosing a replacement part. A worn sweep is different from a drainage or slope problem.
The Frameless Door Sweep is a polycarbonate bottom seal with options for 1/4-inch, 3/8-inch, and 1/2-inch glass. Its best use is replacing a suitable bottom seal after confirming fit; it does not correct a poorly sloped threshold or an outlet aimed at the opening. Match the actual glass thickness and enclosure detail before selecting it.
Stop before concealing the access route, or have the contractor assess an approved access solution if construction is already complete. Do not make glass removal the routine service plan. Required access should remain available independently of the enclosure.
Separate essential shower operation from optional connected features. If your selected system supports remote starting, presets, or additional outlets, configure them only after basic controls and safety checks pass. Confirm the manufacturer's requirements for each feature rather than assuming every digital valve supports it.
For a 2026 accessibility-focused remodel, review controller reach, entrance clearance, and door operation together. Ask the enclosure installer and remodeling contractor to assess the complete layout; an accessible controller alone does not establish an accessible shower.
Showerdoor provides framed and frameless custom enclosures. Frameless glass gives you a layout option, not a substitute for plumbing design, waterproofing, or service planning.
Does a digital shower valve connect directly to frameless glass?
No. A digital shower valve connects to the water supply, outlets, controller, and specified power arrangement. The frameless enclosure is coordinated around those components rather than electrically connected to them.
Can I keep my existing frameless shower door when adding a digital valve?
Yes, if the existing enclosure's condition and layout support the new controls and outlets. Have the installer check door movement, controller clearance, and the need for construction access before retaining it.
Where should I put the digital shower controller?
Put the controller in a manufacturer-approved location that remains reachable without interference from the door or handle. Check access from outside and inside the shower before finalizing its position.
Can an installer drill tempered shower glass for a controller?
No. Finished tempered shower glass must not be drilled or cut on site. Specify any required glass fabrication details before tempering, or use an approved controller location that does not require altering the glass.
Will a digital valve stop water leaking around my shower door?
No. A digital valve controls water delivery, not enclosure gaps, drainage, or door alignment. Check spray direction, seals, threshold details, and enclosure installation to diagnose water escape.
Does Showerdoor install the digital valve as part of its enclosure service?
Showerdoor's stated service covers manufacturing and installing custom shower enclosures. Arrange valve plumbing and electrical work with the appropriate contractors and coordinate their layout with the enclosure installer.
Do I need an app to use a digital shower valve?
Use the selected valve's documentation to determine its control requirements. Do not assume app setup or internet access is necessary, and test the documented operating method during commissioning.
Test the shower with the door in its normal operating position. Testing controls with the door open proves that water runs; it does not prove that the finished enclosure contains normal spray or that the controller remains accessible. Make that practical check part of the handover, not your first shower after the contractors leave.


